The students are the basis for the school’s operation.
Adding the student will enable you to assign him to the group, contact him, bill him. The teacher will have the opportunity to assess learning progress, check his presence, and create notes in the student’s history.
How to add a student?
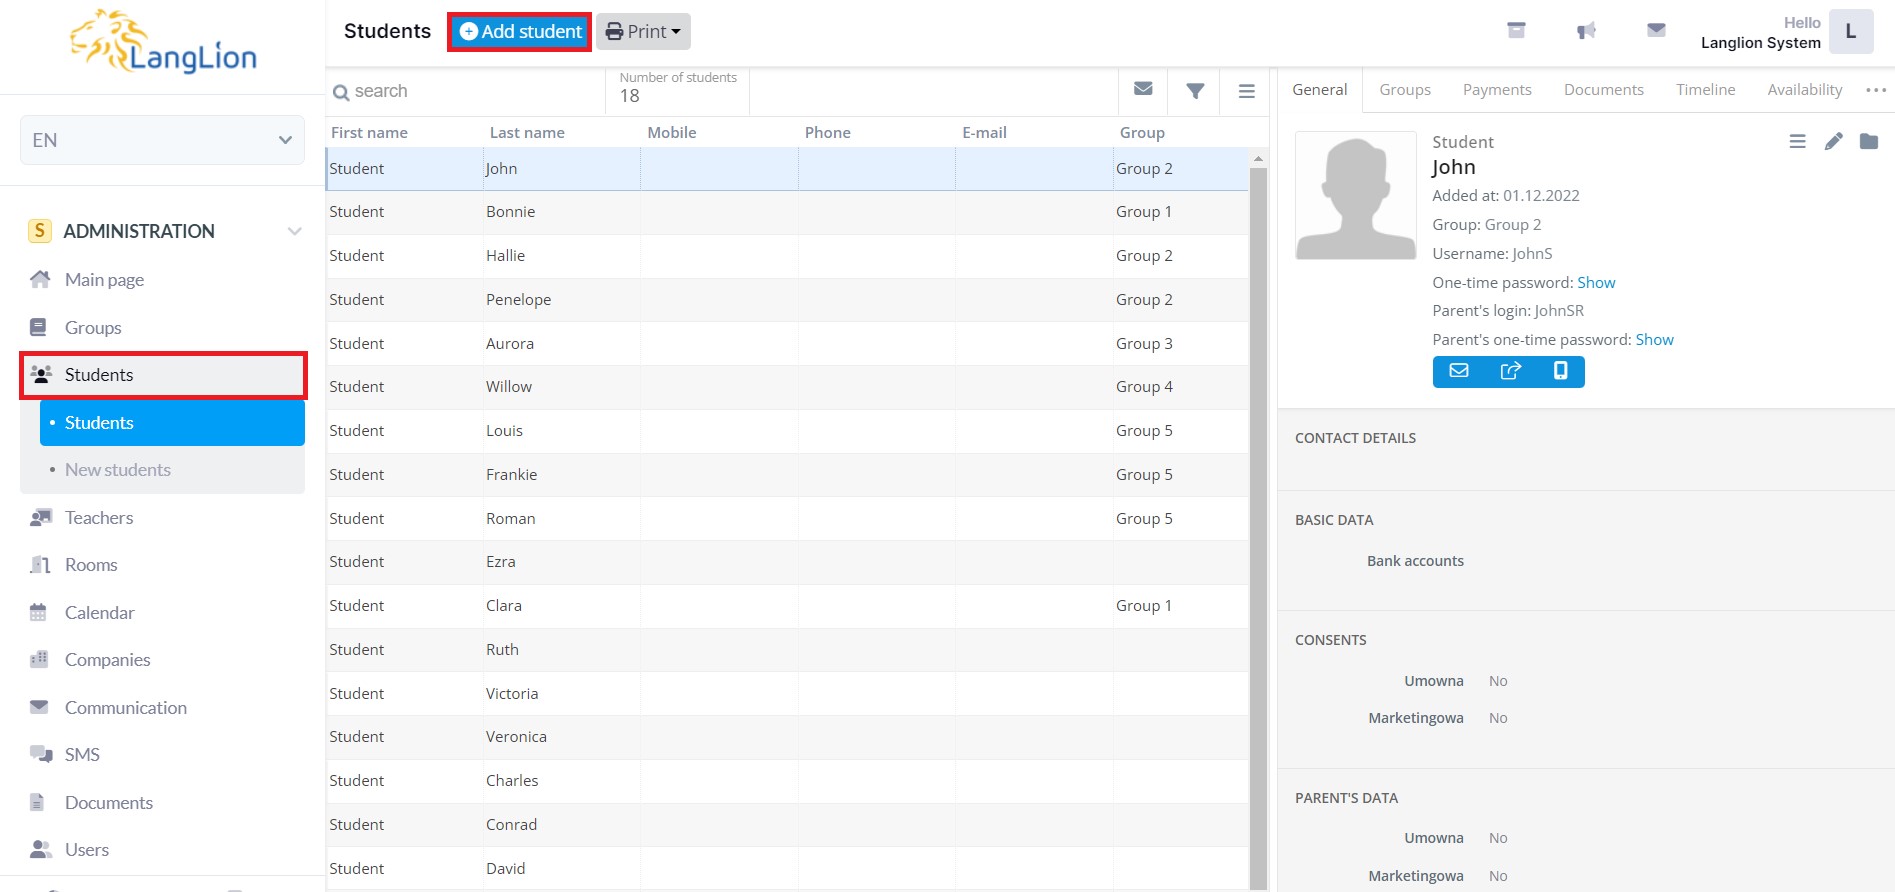
- Go to the Administration module and choose Students tab.
- Click on the Add student button.
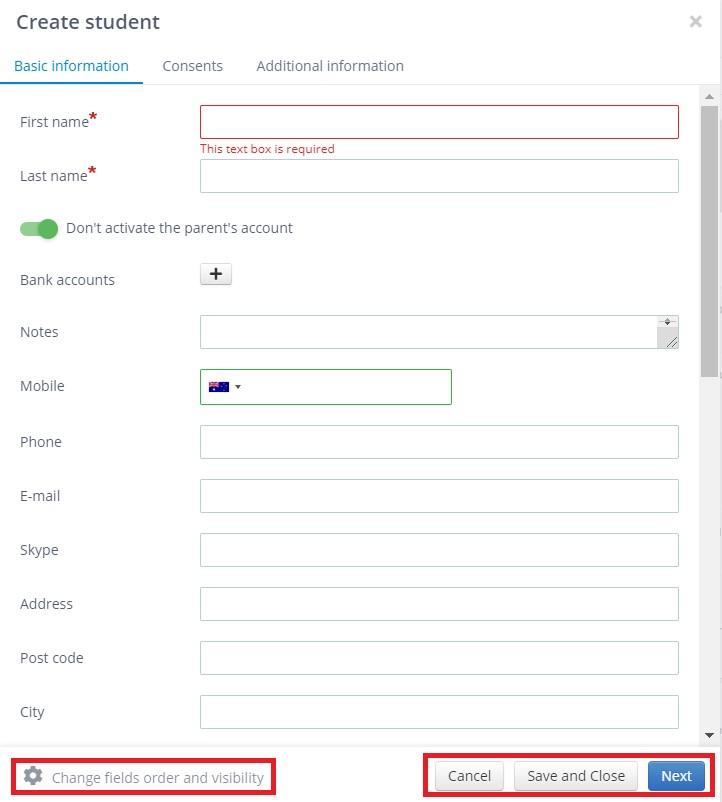
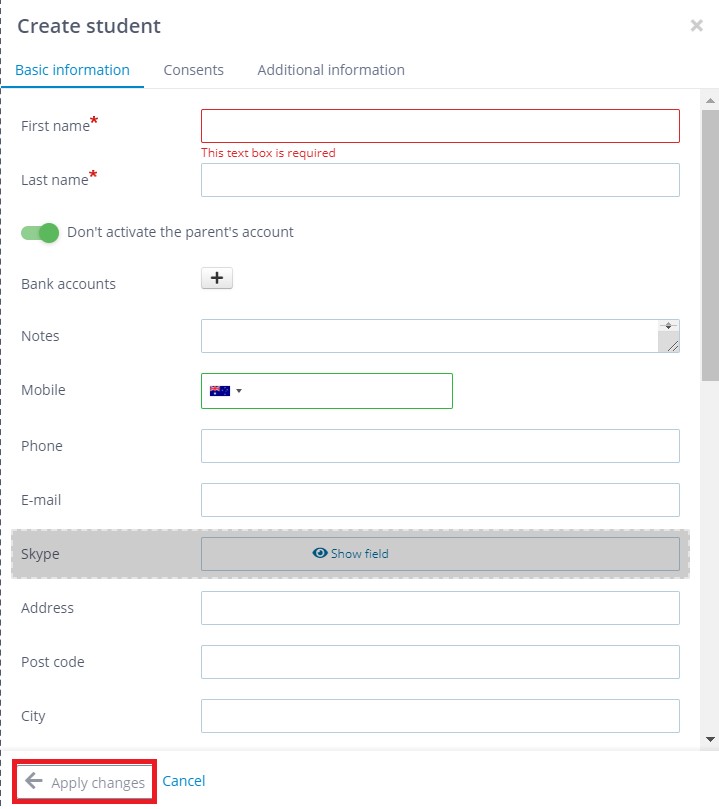
3. To customize the form, just click on „Change fields order and visibility„. Now you can change the order using the „drag and drop„ method. You can also use the option „Hide field” to hide the one you don’t need to fill.
You can apply changes both when adding a new student to the list of active students and when editing a person already added to the system.
Once you finish editing, click on the „Apply changes„ field.
Please note that once made changes will be included in each student or group. This means that if you want to add another person, the form will only display these fields and in the order, they were previously set.
4. Enter the student’s personal and contact details. If the student is a minor, you can also enter the parent’s personal and contact details.
5. Pay special attention to the consents for the processing of personal data.
6. Once you finish, click on the Save and Close button.