Now, besides the embedded on-line lesson module and Citrix GoToMeeting tool, you can use the platform to create ClickMeeting webinars enabling you to teach a class over the Internet. Besides communication with participants, by using ClickMeeting you can add presentations, graphic files and questionnaires. Meetings can be recorded; already one day after a class course participants can download the recording to HDDs of their computers.
Use free integration of LangLion Platform with the aforementioned tool.
How to proceed with the integration?
That’s simple: click the Settings tab in the Administration module and go to Online classes tab. Than select ClickMeeting option as the main provider of on-line classes in the system. Then, go to registration panel, and click on the link marked as Registration URL.
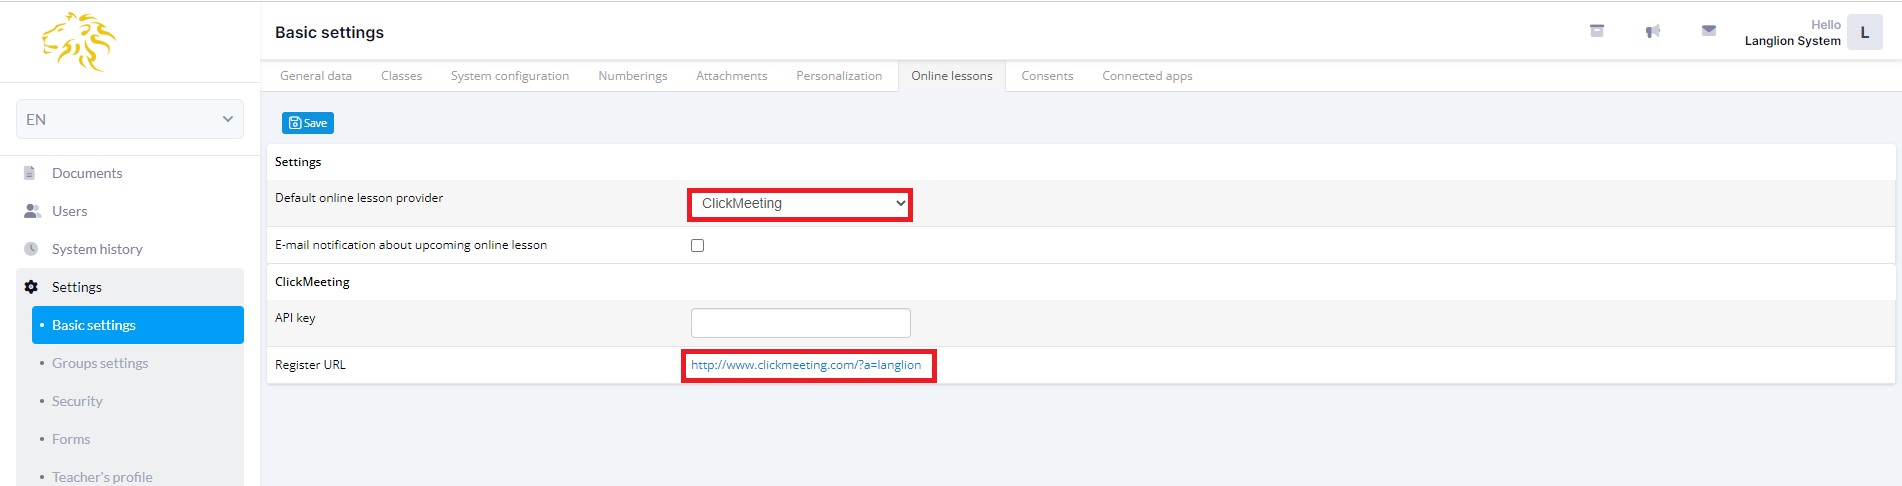
In the next step, register in ClickMeeting service to obtain Api Key required for integration and then input it in Online Classes tab.
Where do I find Api Key?
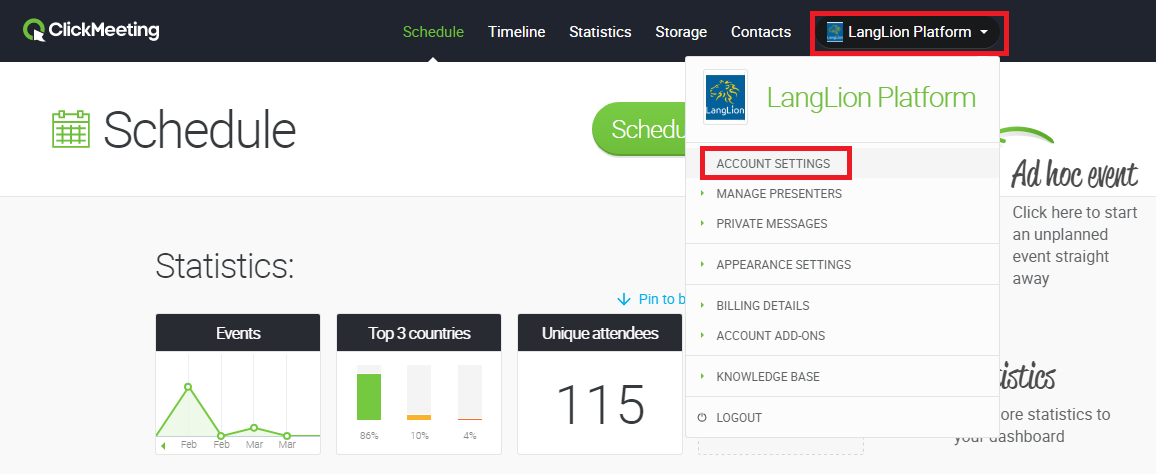
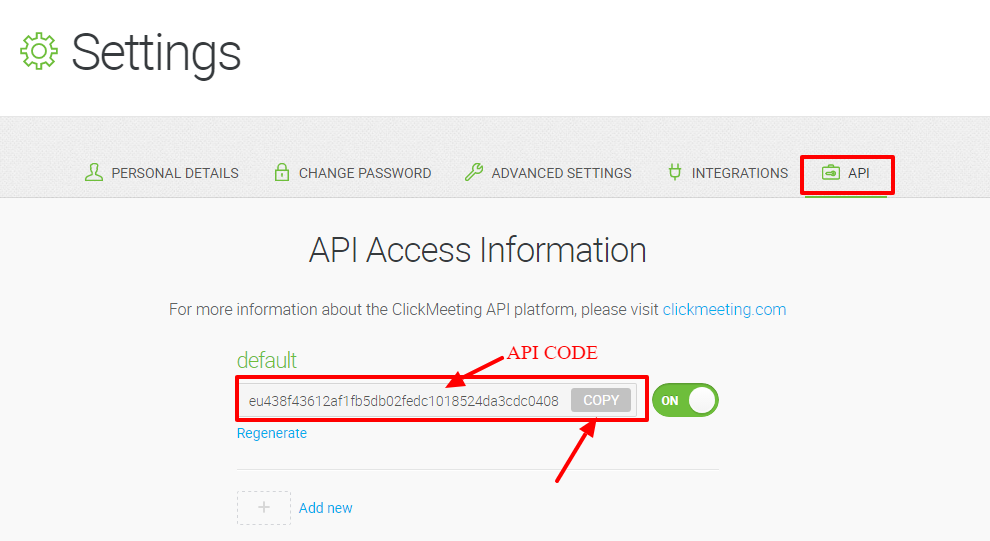
This is not difficult. First, click on the user name; in the displayed menu select Account settings, go to Api tab and copy the generated code.
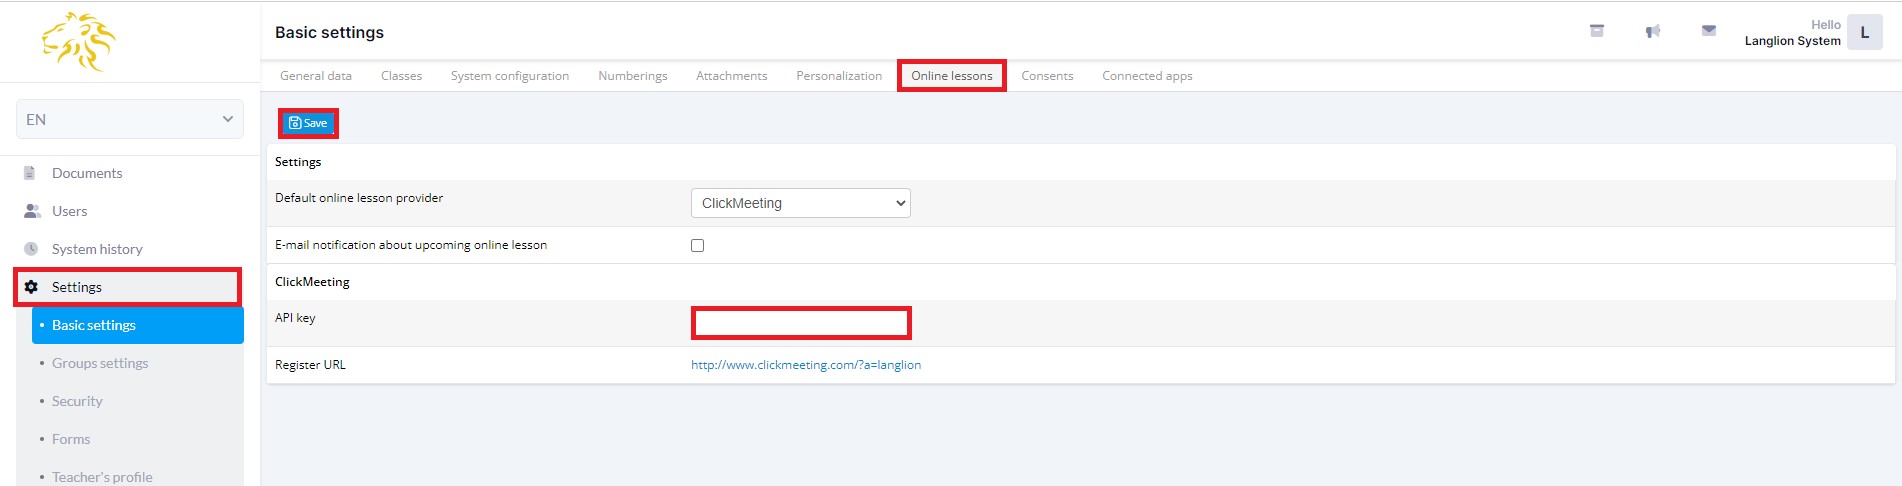
Paste into On-line classes tab, Api Key box and save the changes.
You are ready to go. LangLion Platform has been integrated with ClickMeeting tool and from now on it will be the default tool for teaching lesson on-line in your system.
How to set up an on-line lesson?
That’s simple: it suffices to make the same steps as those used for setting up an on-line lesson for embedded Teaching over Internet module.
After setting a class up, please launch it.
A lesson was launched using ClickMeeting tool. Initially, you can make a choice depending on whether the meeting will take place in a moment, or you still have some time before it starts and you want to prepare yourself.
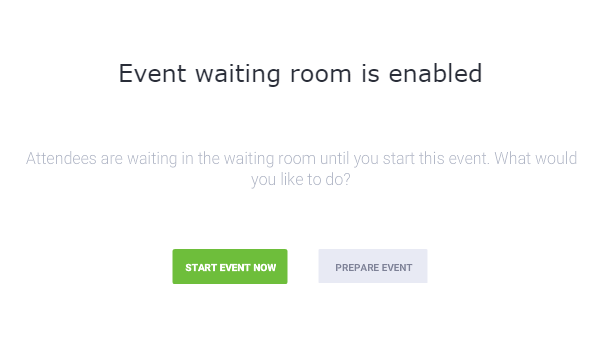
Choose Start event now, to move to a class with default configuration. If you want to prepare your own event, use Prepare event option. After clicking on that option, despite being launched, the lesson will be suspended; time will not be running and you can configure the appearance of class panel freely.
ClickMeeting on-line lesson panel was launched and looks as follows:
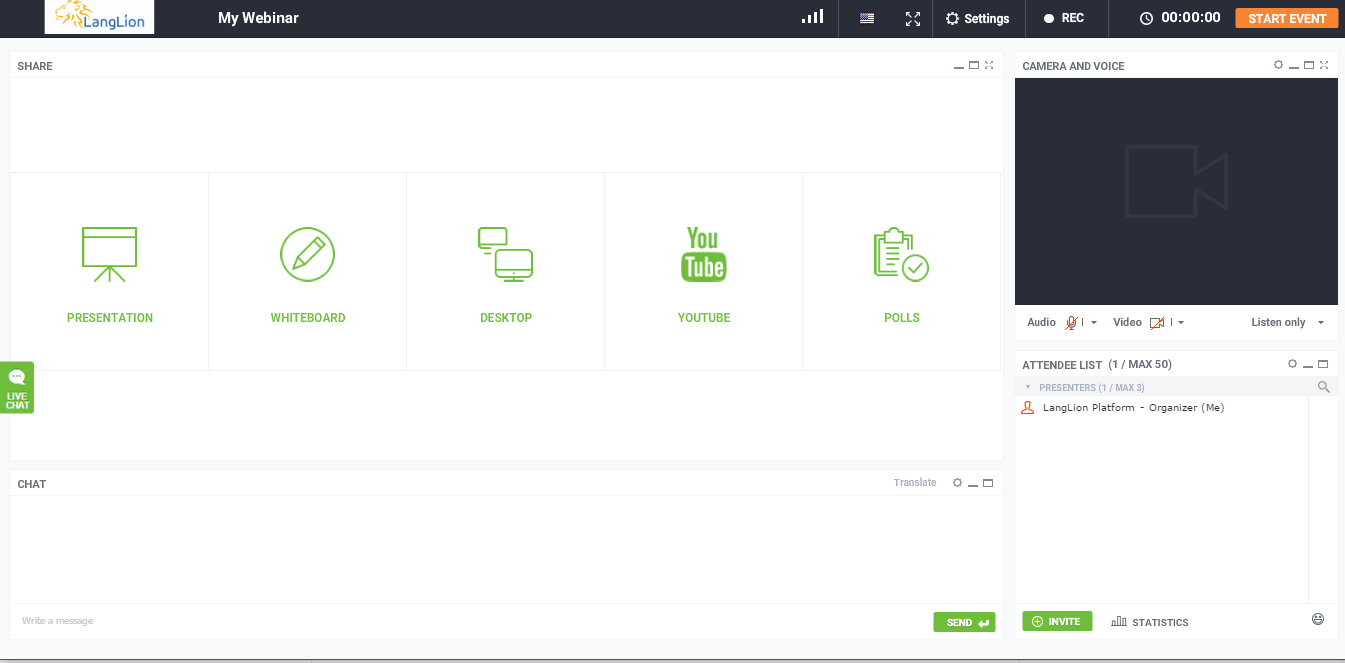
Now follow view windows containing particular functions:
Upper bar contains connection quality indicator; you can change the language in which options are displayed and match the view to screen size. The available options include ones allowing you to switch on class recording, and also enabling starting and resetting class registration time. If you complete preparations for an on-line lesson, click on Start an event option.
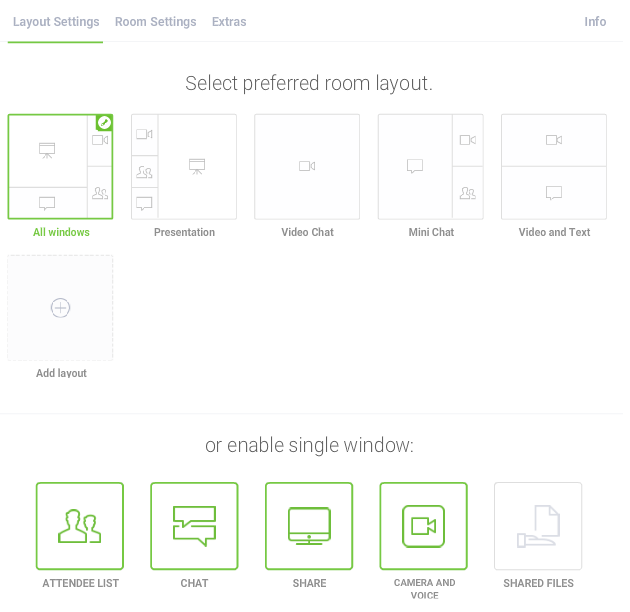
Click Settings to customise the appearance of on-line lesson panel, by switching on or off particular windows or choosing their pre-set setups.
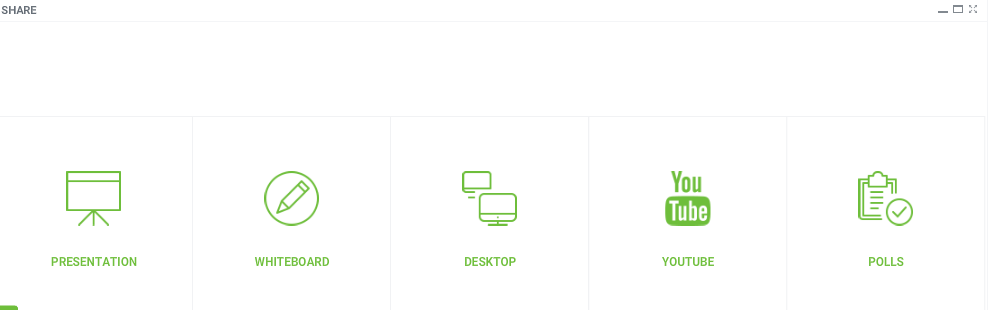
In Sharing window you can:
- display a presentation to students,
- display a board where one can write and place various types of shapes,
- share the desktop with participants – consequently you will display to them exactly what is displayed at your desktop,
- display tutorials from YouTube service related to support of ClickMeeting tool,
- share a questionnaire with students.
Another window called Picture and sound will facilitate your communication with other meeting students. In that window you can manage sound options (switch on or off, use the microphone and speakers or cell phone). You have also the option to adjust picture settings. This is where you can use a camera or avatar. Additionally, you can change the conference mode (available modes are: discussion, Q&A, private or presentation).

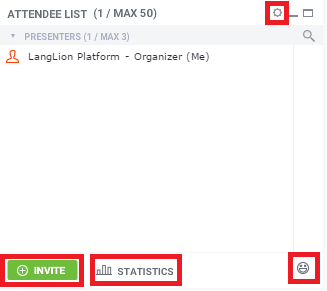
Participants window contains info about users who take part in on-line meeting. Available options include the list of listeners and presenters, furnished with a people search browser. The window also contains settings, owing to which you can:
- invite more participants, by using their e-mail addresses,
- display participant statistics,
- erase statuses of all users,
- hide participants’ list,
- receive notifications about new meeting participants.
Besides adjustments of settings, you can directly invite new users, display their statistics and assign a status to yourself.
The browser enables finding specific students on the list of participants and presenters. After selecting the proper person, you – as a presenter – can display their details, such as:
- e-mail address,
- location,
- connection quality status,
- switching on participant’s audio and video.
You can also assign the function of a presenter to a selected students.
The last window of on-line class panel is Chat. Here you can communicate with other meeting participants, by writing messages to them. Additionally, the chat window contains the option of a translator, which you can configure in such a way that it will translate the words you input into a selected language.

You can also manage the chat by using its settings. Particular options enable:
- switching chat off for students,
- switching on voice notifications about new messages,
- displaying message time,
- changing font size,
- saving and deleting chat history; you can save a chat in files of txt, csv, xml formats and csv files with translations,
- switching on and managing chat moderation.