Creating Mailing
Mailing is a very useful tool in case of sending a message to a large group of receivers. Additionally, we can set here both date and hour of sending.
By using the mailing, you can easily send announcements, offers or wishes for the coming holidays. Mailing can serve as a tool for building relationships with students.
How to create mailing?
You can do this easily and simply:
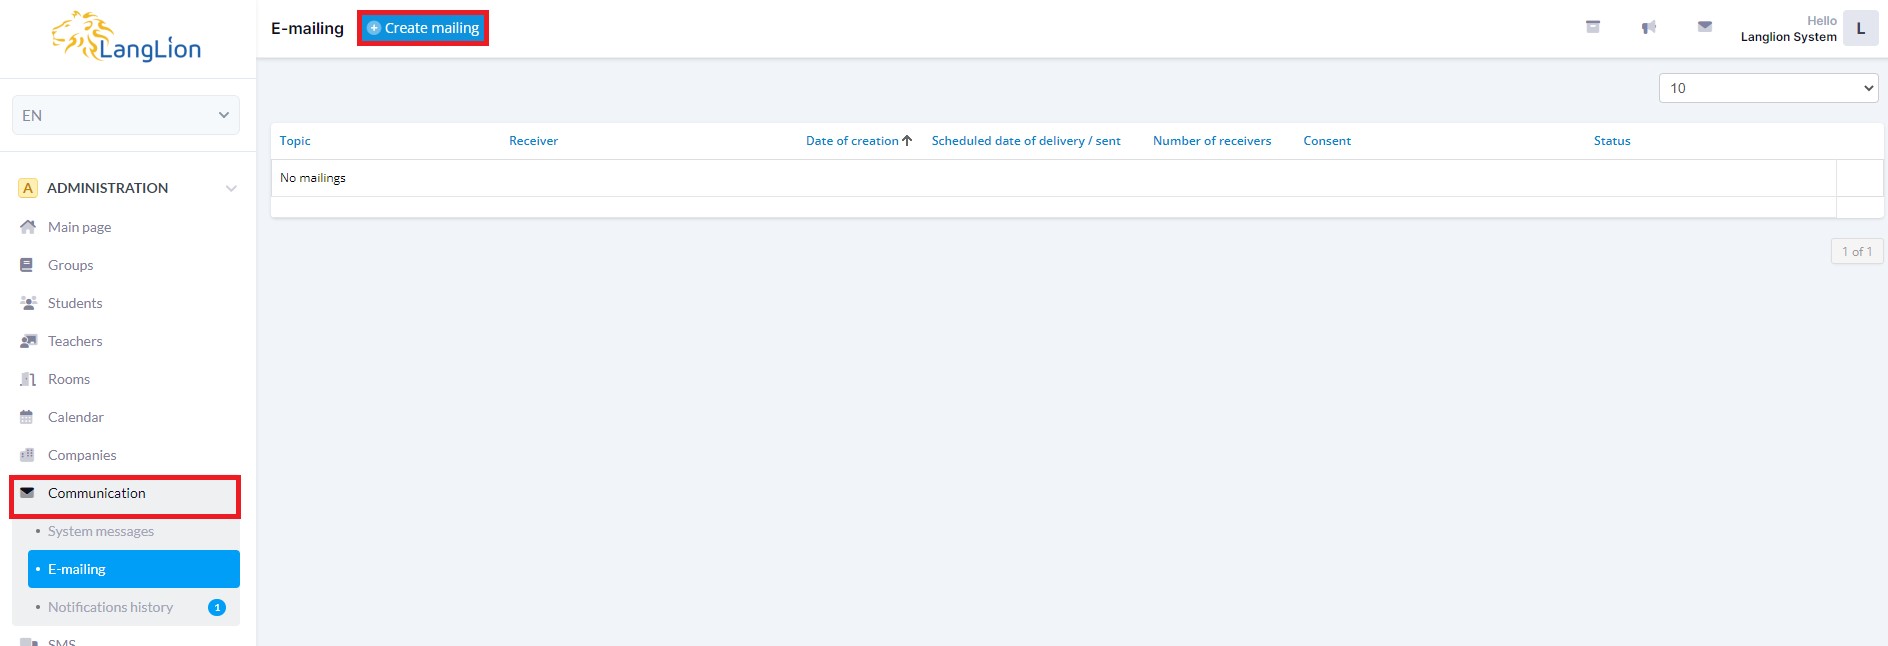
1. From the Administration module you will select the Communication tab.
2. Click the E-mail tab.
3. Select Create mailing.
The mailing editor was started. Now you have the ability to choose recipients.
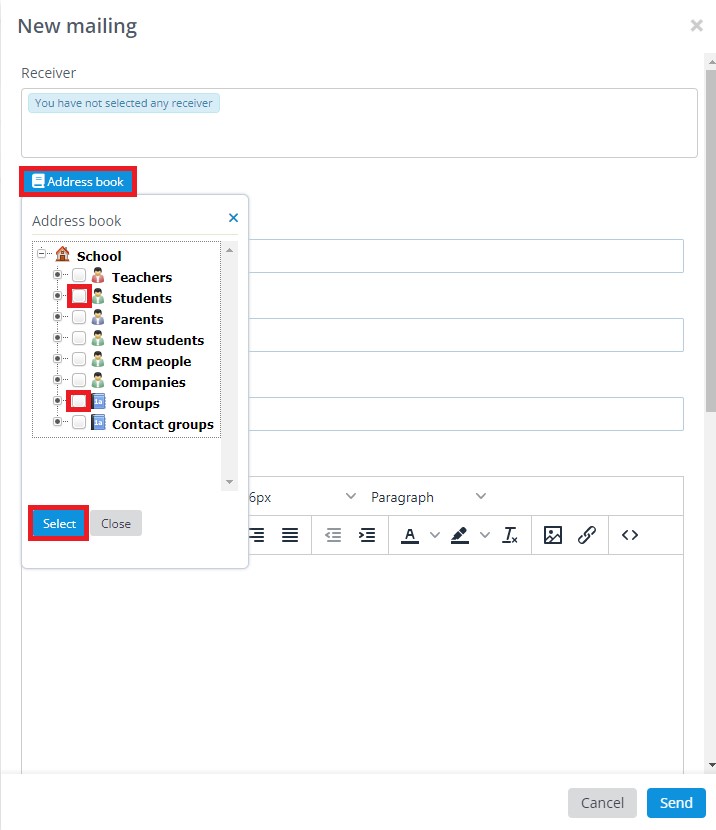
How do I select recipients for my emails?
It’s easy, click the Address Book button. Then, select people to whom you want to send the message.
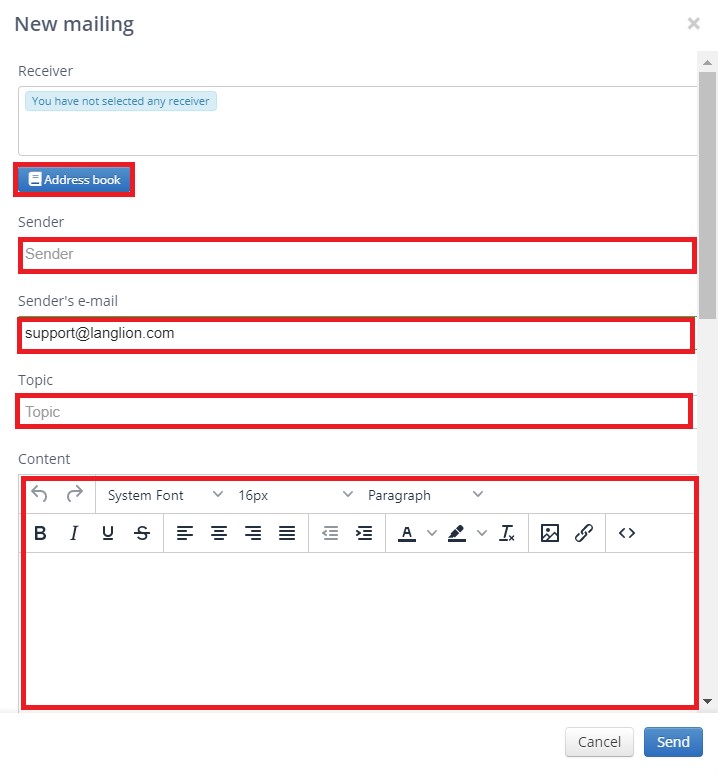
4. Enter the sender and the email address of the sender (the next time this data will be completed automatically).
5. Enter the message subject and the text of the message, which you can freely edit using the text editor.
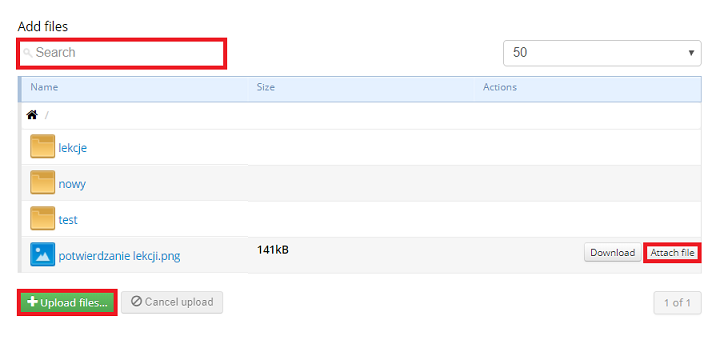
Would you like to add an attachment to the message?
It’s easy if your package includes the E-learning module, you can do this by clicking on the Add File button. This option allows you to attach a file that is located in the E-learning module directory.
Due to the fact that there are no restrictions on the size of attachments and that they are placed on a virtual disk in the E-learning module, it is necessary to activate this module. If you do not have an active module yet, you can test it free of charge for 14 days.
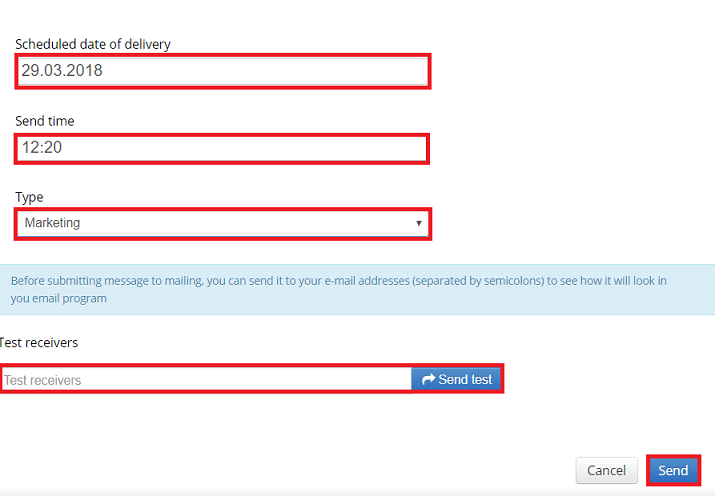
6. Enter the mailing date and time. Given these parameters, the program will send the appropriate message from the server.
7. Specify the type of message. After sending it, the system will verify whether the recipients have agreed to receive this type of message and send mailing only to the appropriate persons. You can indicate several consents in one mailing. To do this, first, select one type from the list and then add another from the list.
7. If you want to try sending a message and see how it looks in your inbox, you can use the „Send test” option. Just enter your e-mail address and click the button.
8. If the test has been successful, click on the „Send” button.
Done, the message has been forwarded to the server from where it will be sent to the recipients.