Notes
In the tab Settings module Administration we can find an option Notes.
Let’s choose it and click Add.
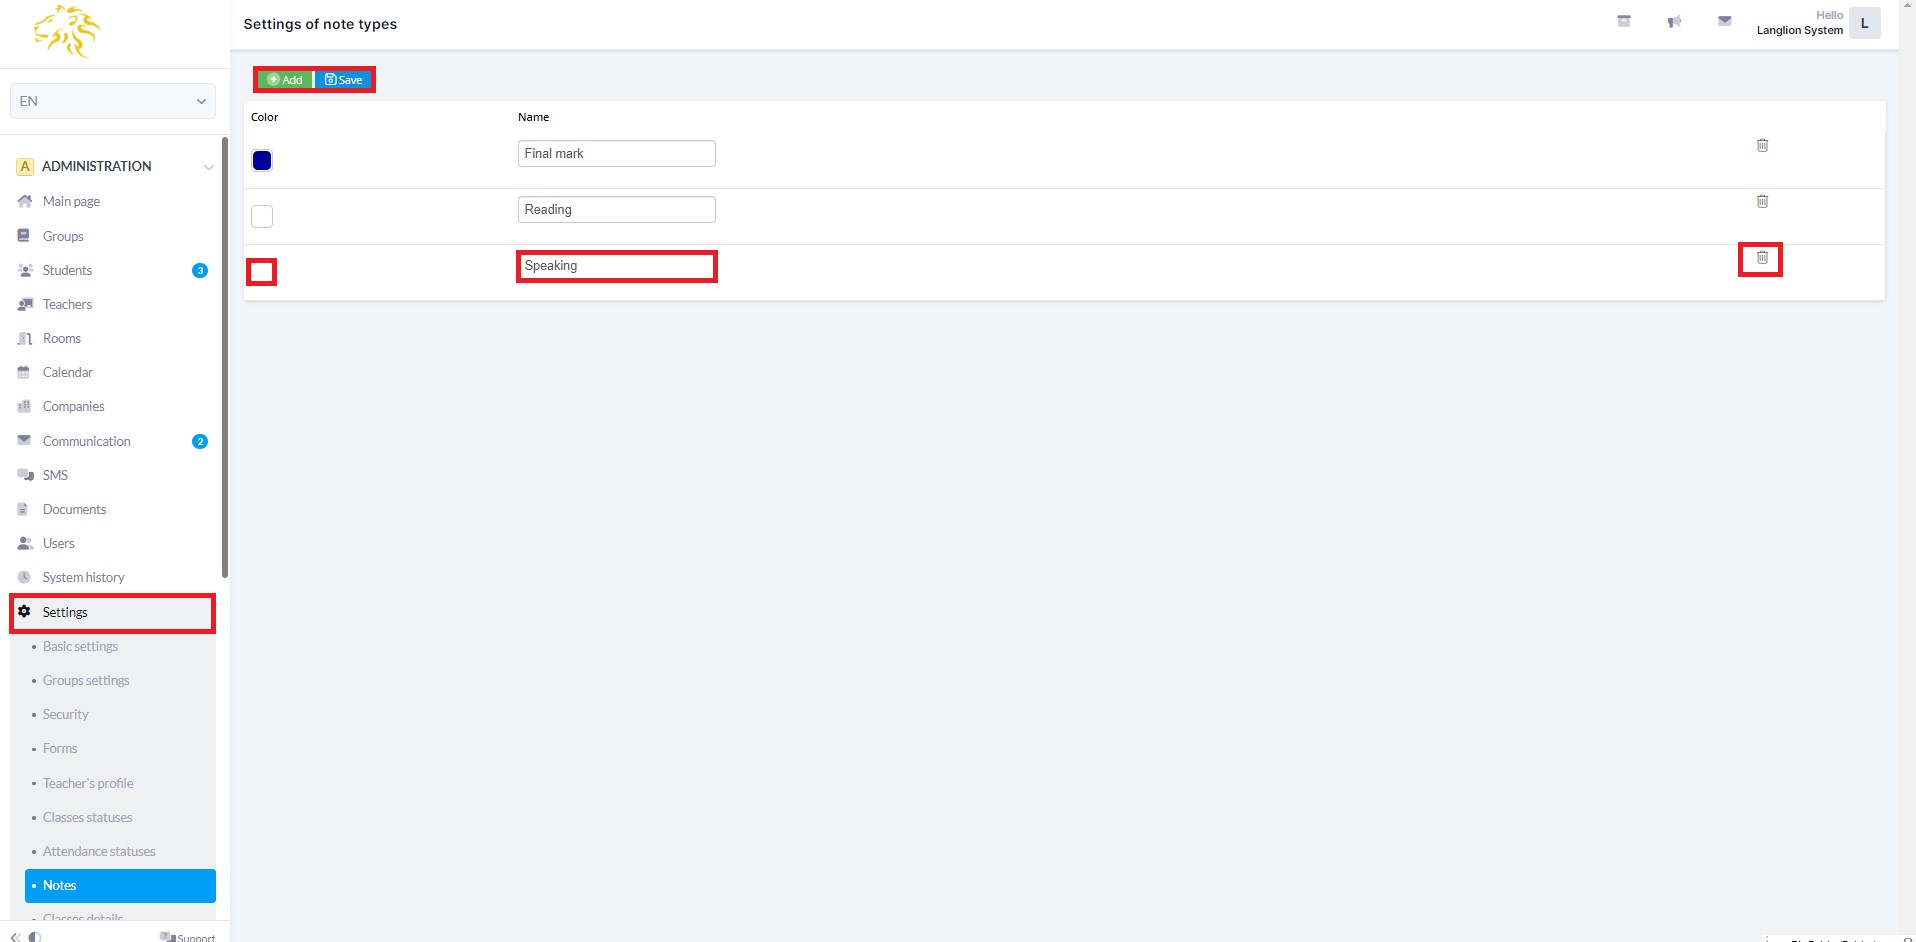
Next we assign a name to the note. After finishing we click Save. Notes can be easily deleted by clicking the trash icon.
In order to add a new note, we click Add.
Now we will show you, what Notes can be used for.
They are assigned to students in order to create their profile’s history.
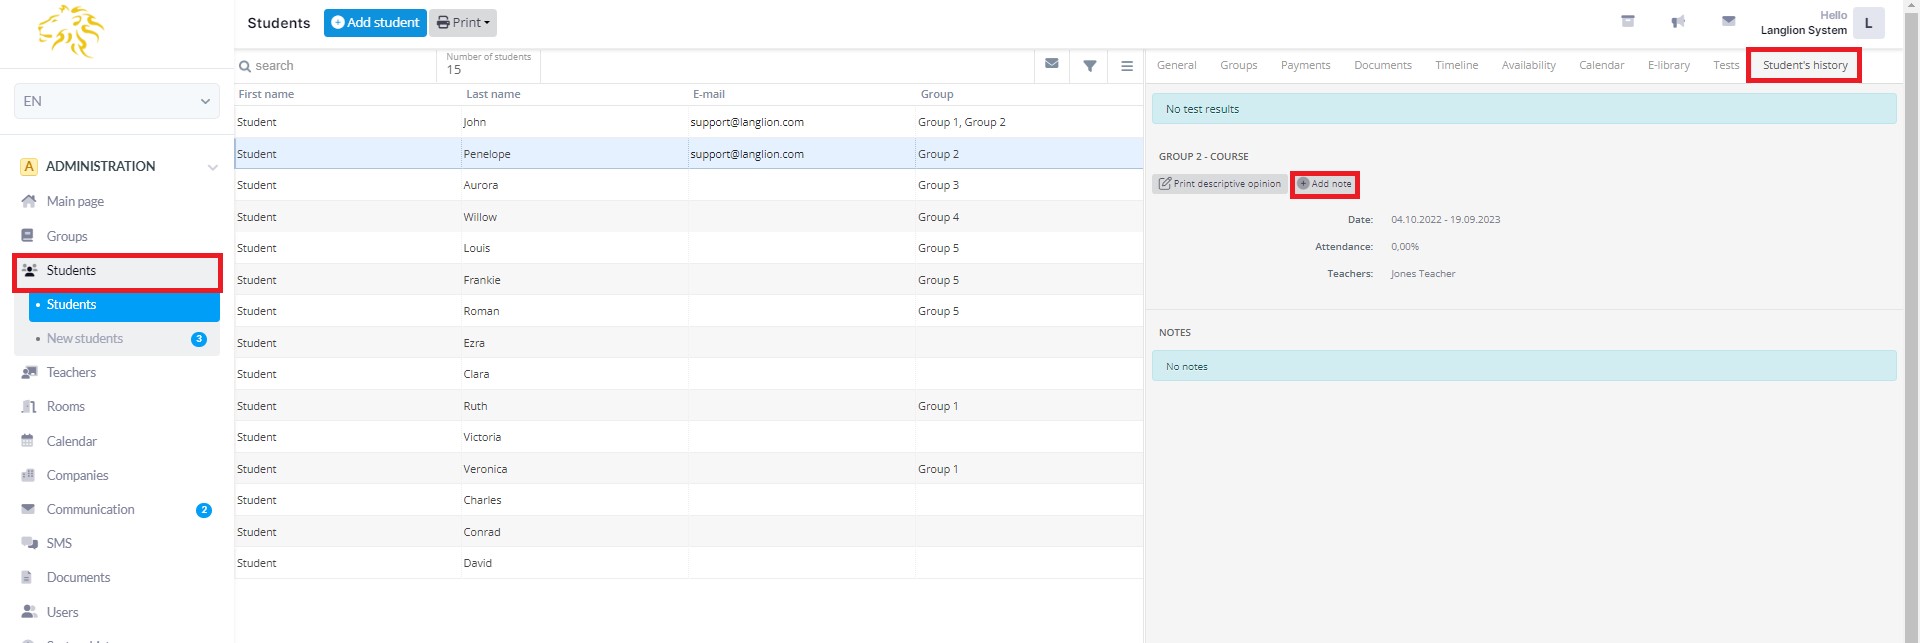
1. We choose the tab Students from menu Administration and click on a concrete student, who we want the note to be assigned to.
2. On the menu on the right we choose the tab Student’s history and click on a button Add note.
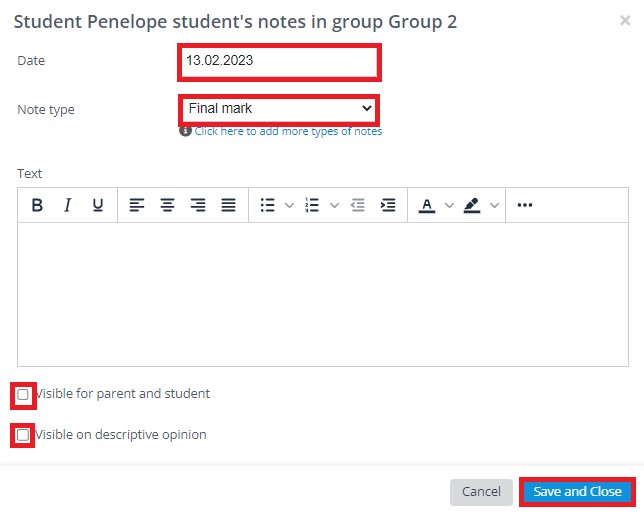
The note’s edition window has appeared.
3. We enter the note’s date, we set its type as well as its text. Additional action is the setting of note’s attribute for „visible for student” and „visible on descriptive opinion„.
4. We click Save and close.
Similarly we create next notes.
In effect we have a filled student’s history, that is shown on the following picture.
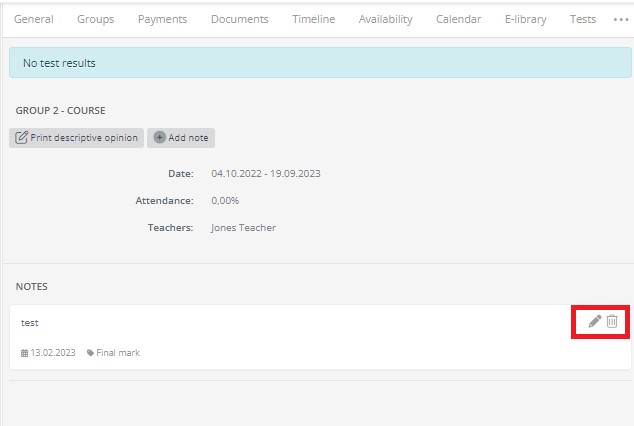
Every note can be either edited or deleted. Special icons on the right are designed to do so.
Student’s history can be also printed. To do so we click Print descriptive opinion. Every note will always be attached to this opinion only if it was sent in the attribute window Visible on descriptive opinion.
Also, remember that the teacher can also add notes to students. Detailed information on this subject can be found in our guide – click HERE.