You can assign a group to a company in two ways: when creating a new group and by assigning an existing group to the company.
How to create a company group?
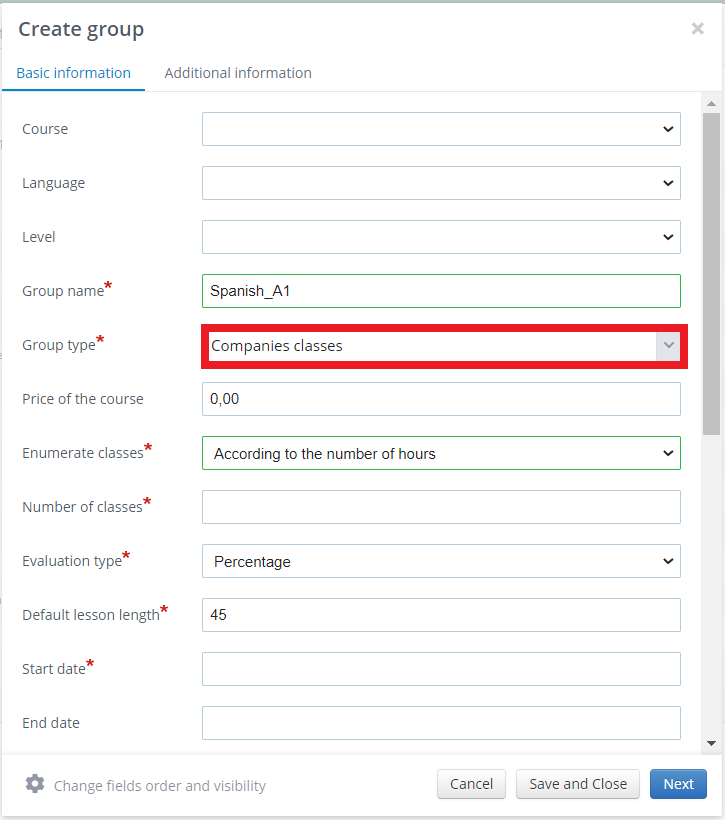
Proceed exactly as in the standard case of adding a group, but in the Group type field, select Company classes and select the appropriate company from the Company drop-down list. For hourly settlement, enter the price for one lesson in the Company group’s rate field. If you have already entered the student in the system, click Next and from the list of students, select the appropriate people to assign to the group.

The group has been added, the students assigned and you can see it now in the Companies -> Groups tab. At the same time in the Companies -> Students tab, there are students assigned to this group.
How to assign an already existing group to a company?
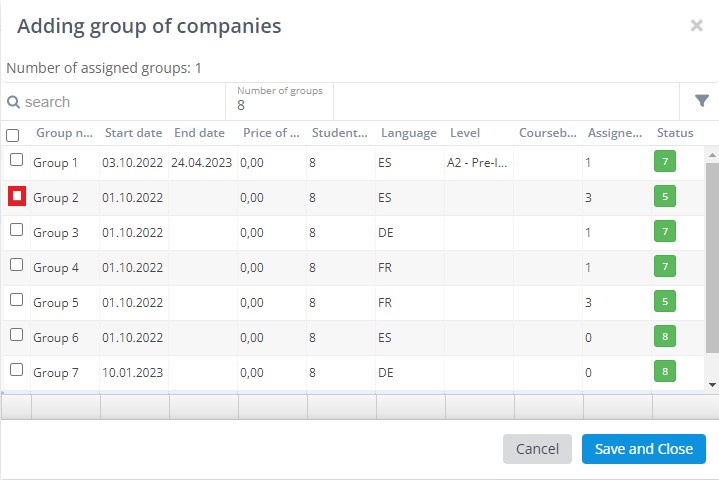
Just go to the Companies tab, click on the company you want to assign a group to, then go to the Groups tab on the right-hand side and click on the Assign group button.

A list of groups will be displayed in a new window. Select the appropriate one and click Save and close.
Now you only need to add a company billing rate. Select the Edit rate icon, enter the amount, and confirm.

You must do the same if you have created an individual group for the particular student and now you want to assign it to the company.