New calendar
In the Administration module, in the Calendar tab, you can easily check the timetable, change it, and print it. The calendar view contains information about the classes on the given days, their status and details, as well as information about the availability of teachers and classrooms.
How do I view the timetable?
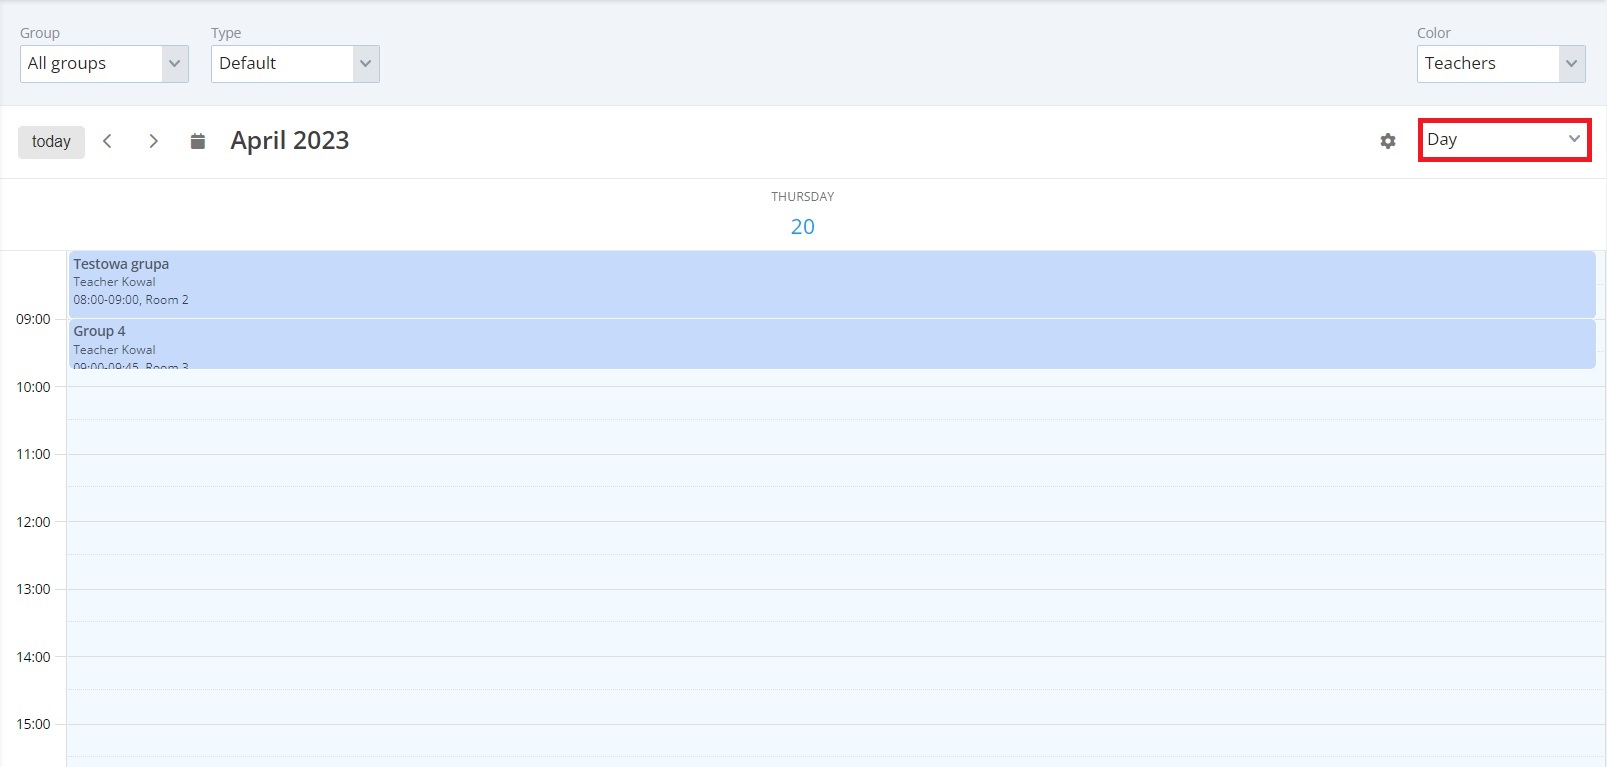
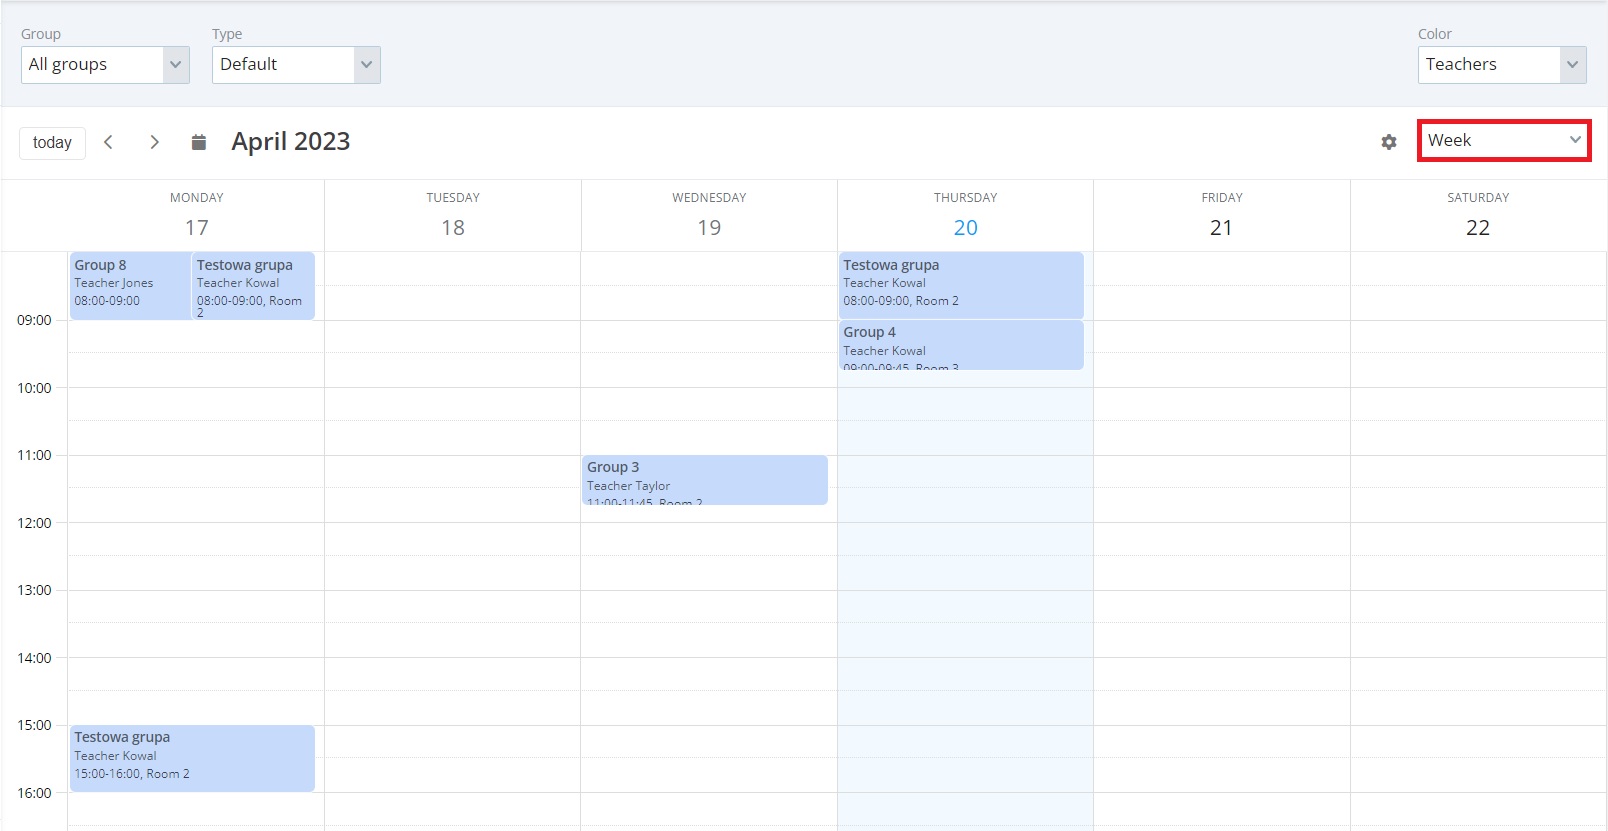
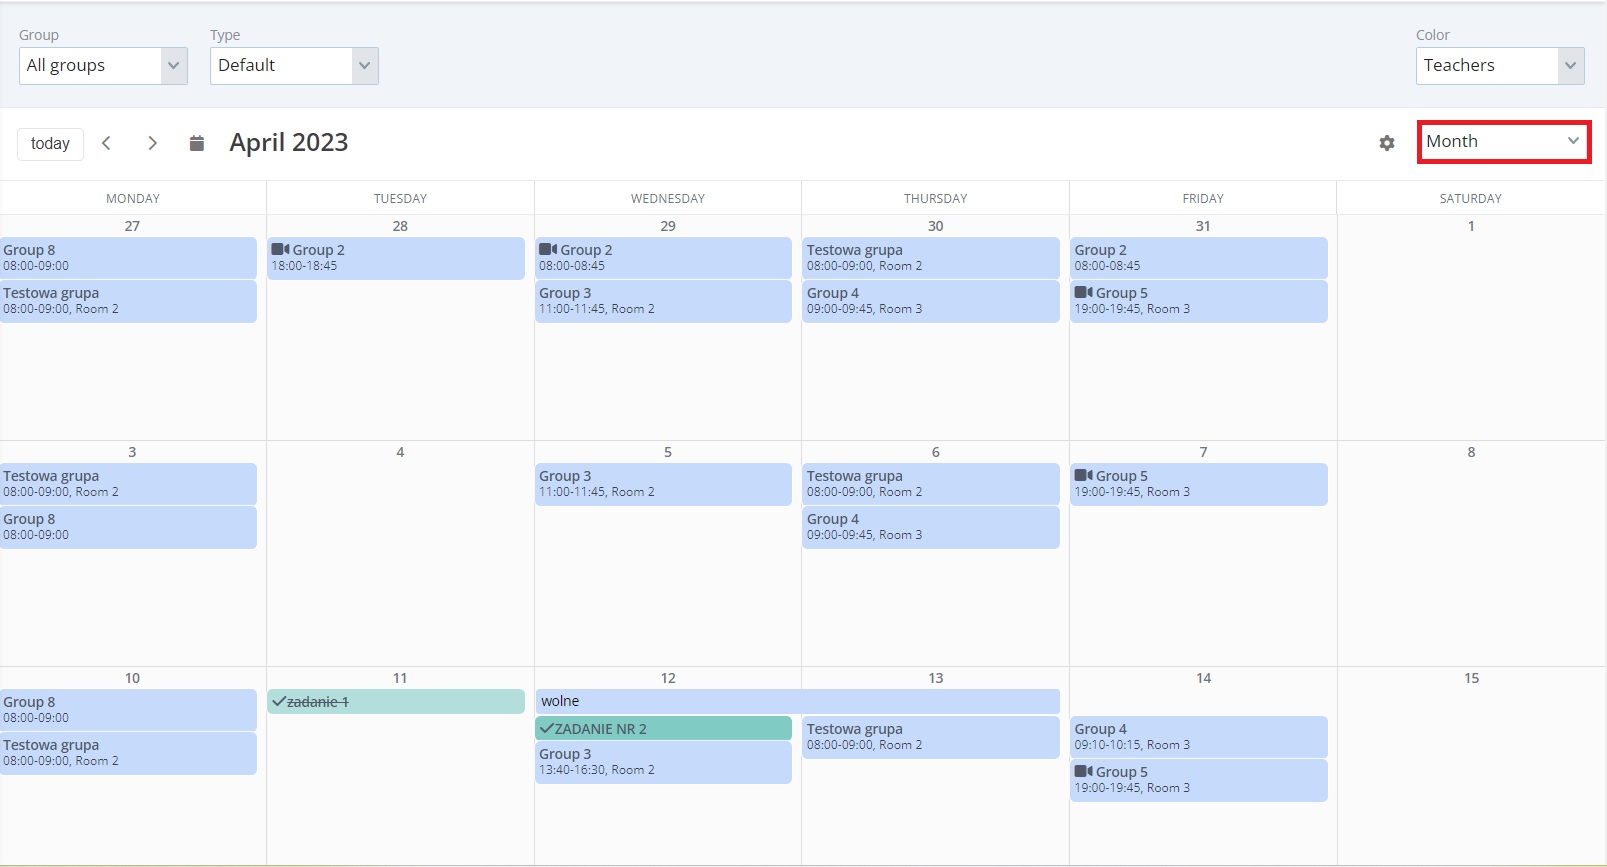
To view the calendar, click on the Calendar tab in the Administration module. In the calendar, you can display the agenda for the selected day, week, and month. The plan can also be displayed as a list.

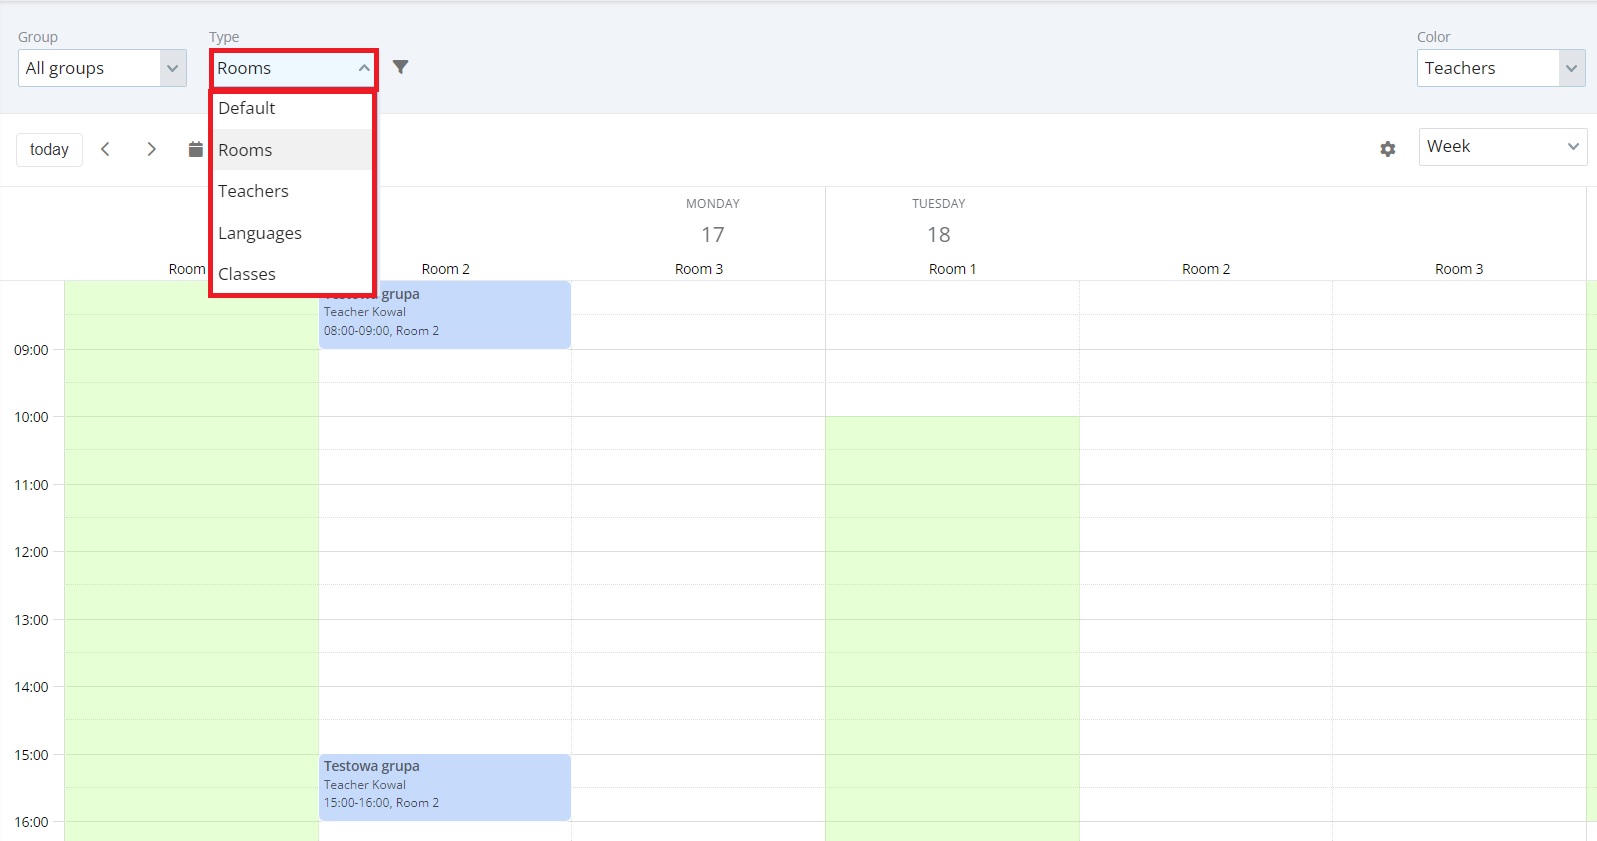
In the calendar, you can choose how your classes are displayed by type:
- Rooms
- Teachers
- Languages
- Classes
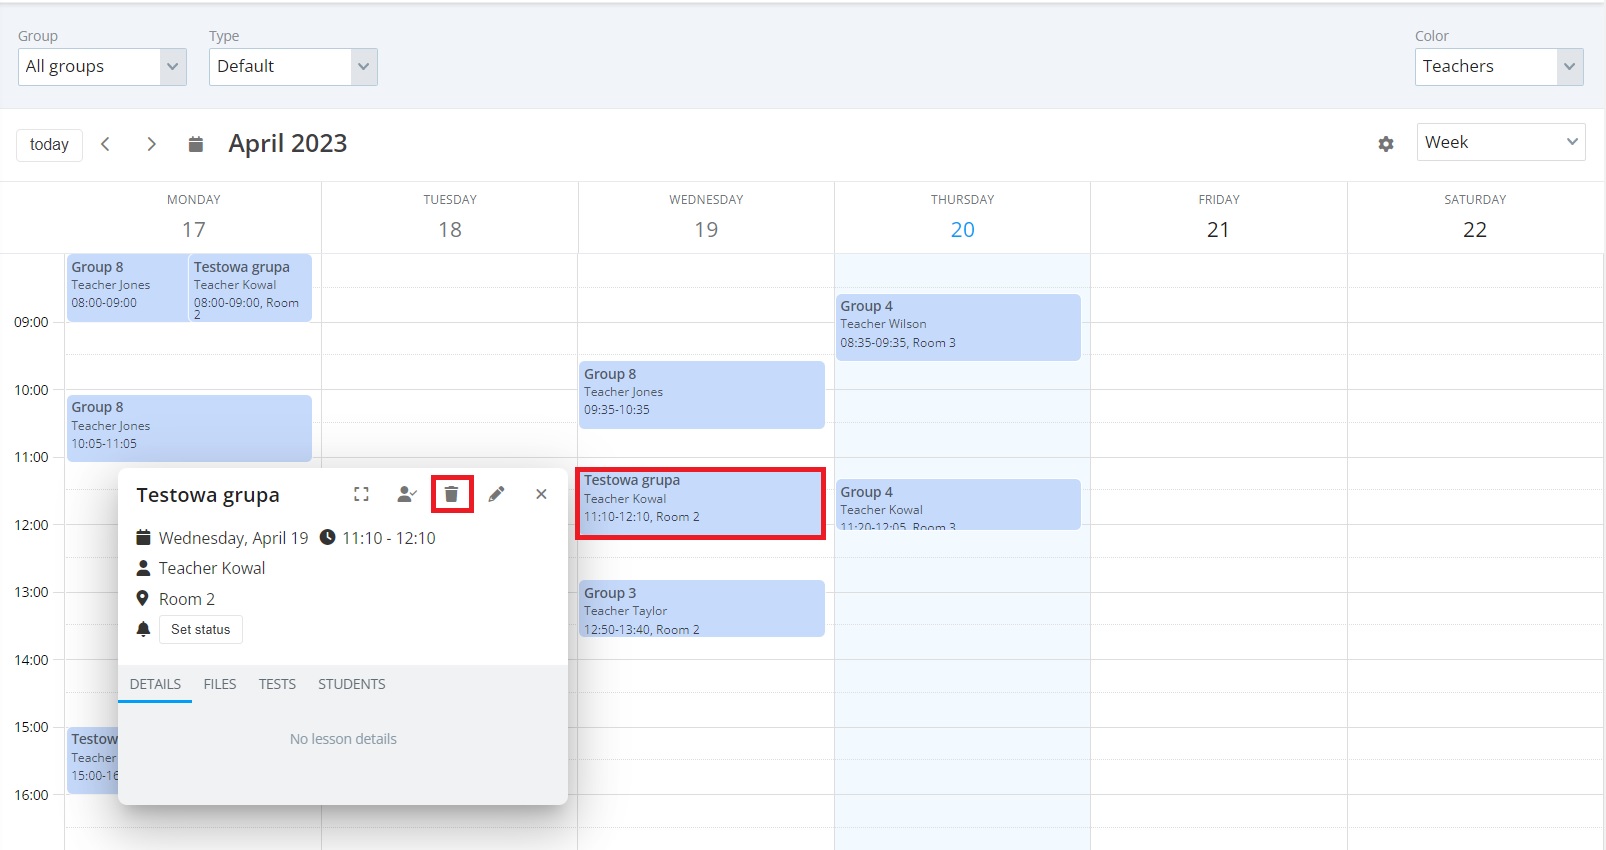
After clicking on the selected lesson, you can see the details of the classes entered by the teacher, added files, tests, a list of students assigned to a group, and their attendance at classes.
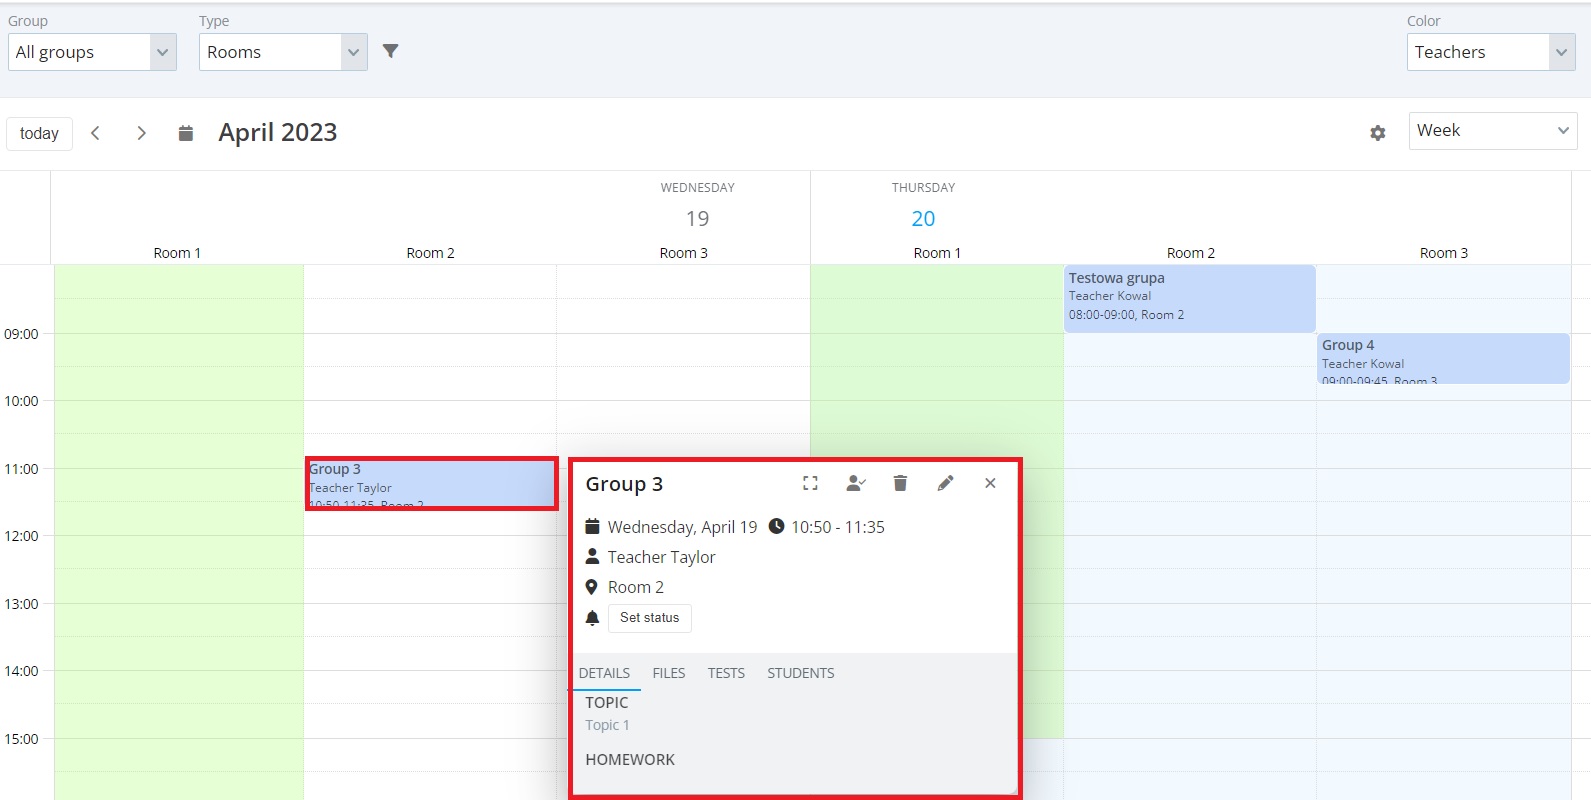
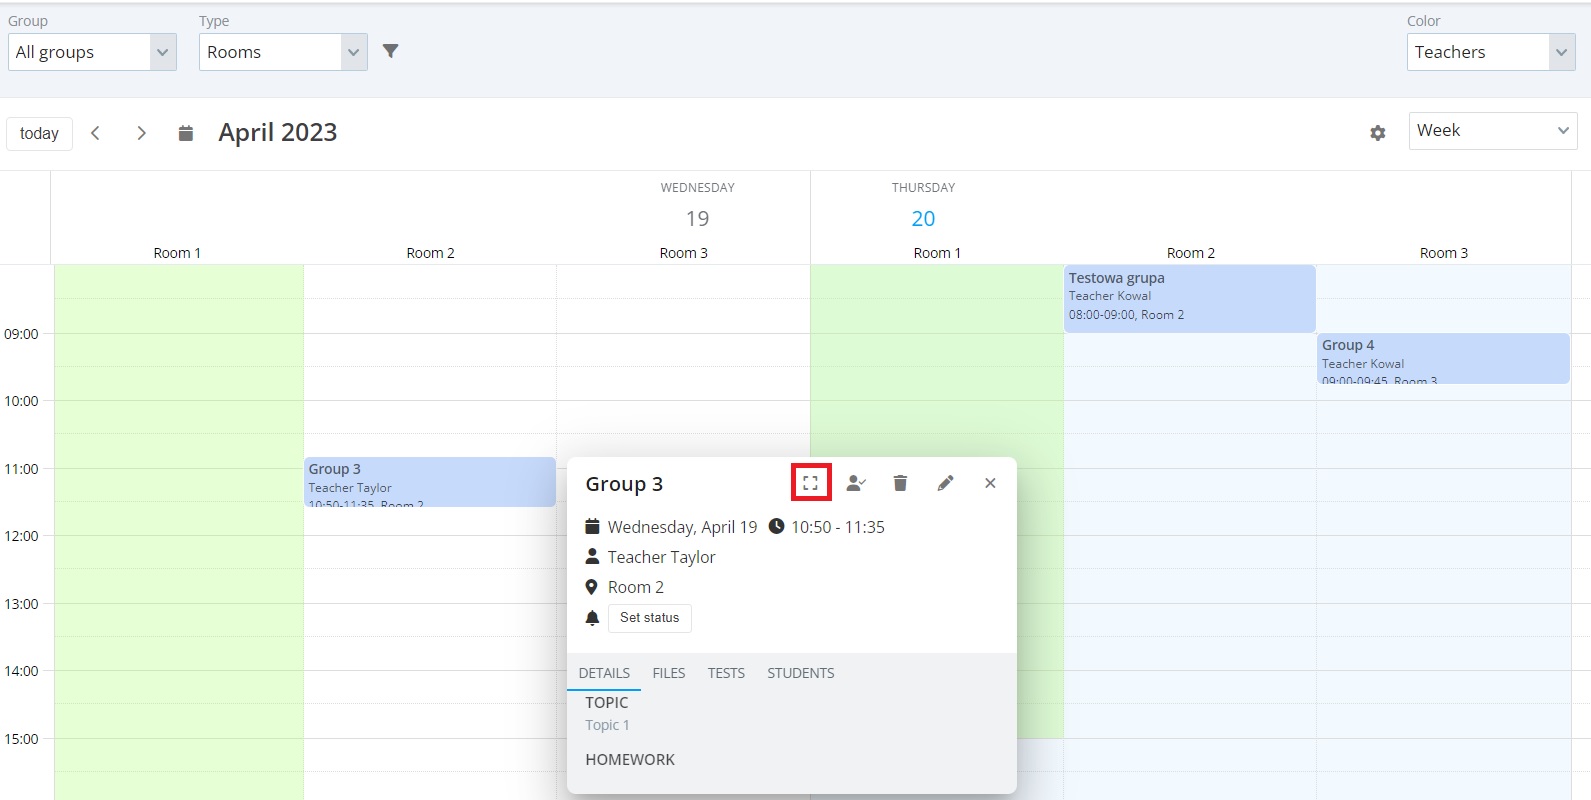
If there are more details in classes entered in the selected lesson, you can enlarge the window for greater comfort in viewing them.
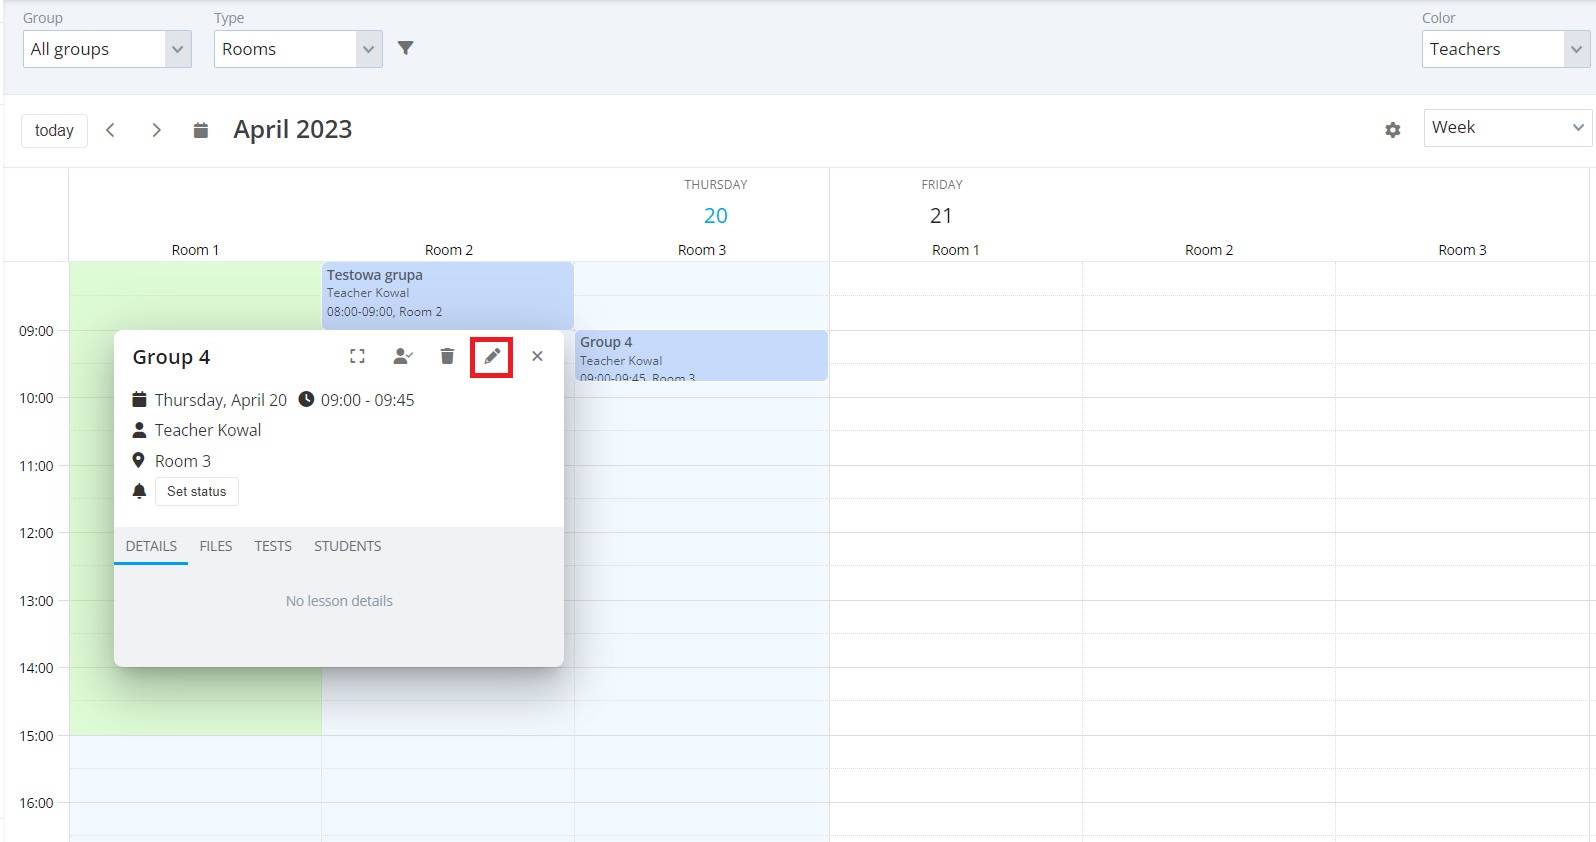
Can I edit a lesson from the calendar?
Of course, you can. All you have to do is click on the pencil icon in the upper right corner after selecting the lesson you want to edit. Then, in the edit window, make changes and confirm them by clicking the Save and Close button.
You can also easily move a lesson to another date or change its duration. To do this, just click on the selected lesson and use the „catch and drop” method to move it to another day or time, or shorten or extend it accordingly.
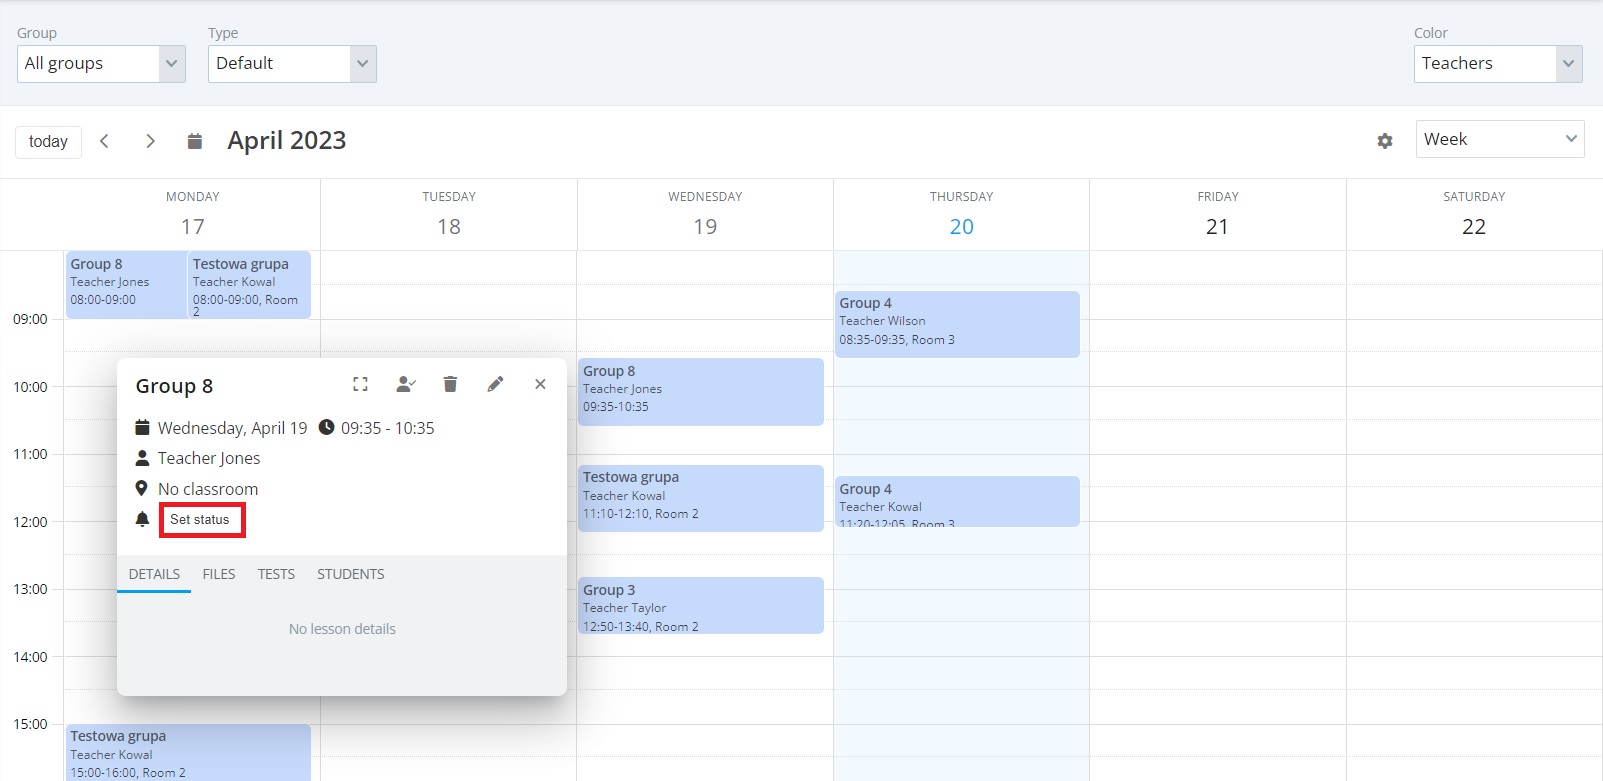
In addition, you can also easily cancel the lesson from here or, for example, give a substitute for it. All you have to do is click the Set status button and select the one you want to set from the list.
Adding a new lesson
In order to enter a new lesson from the calendar level, just click on the place where you want to add it, and then, using the „catch and drop” method, extend it to the time until which the lesson is to last. In the edit window, select a group and make changes if necessary.
To add a lesson, click „Save and close” button.
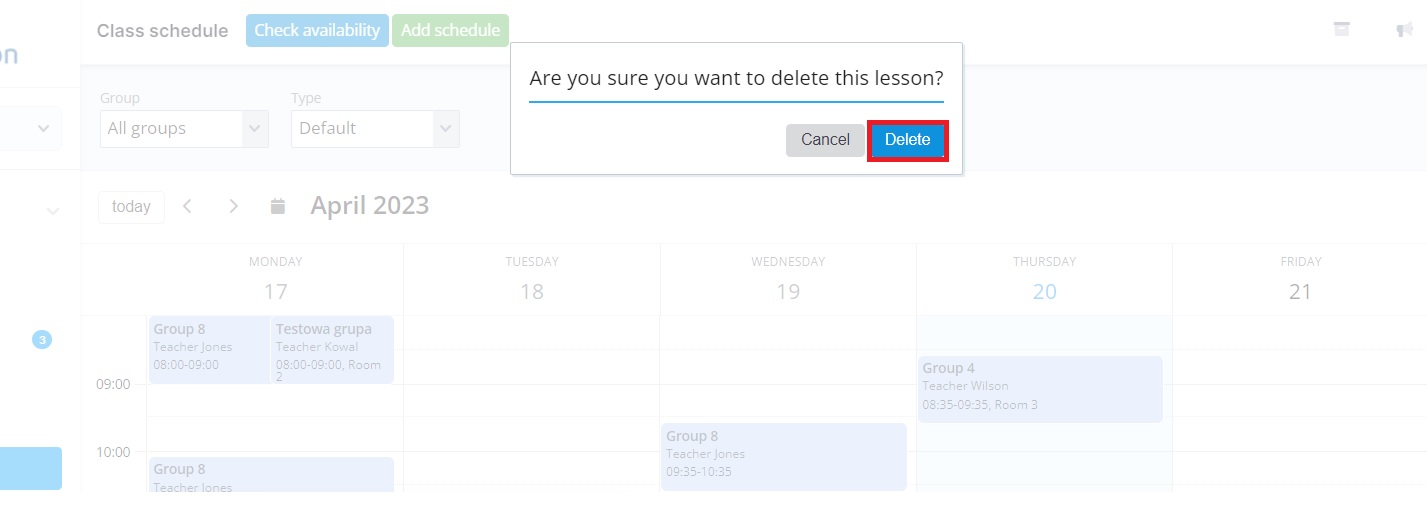
Delete a lesson
To do this, just click on the lesson you want to delete and then on the trash can icon.
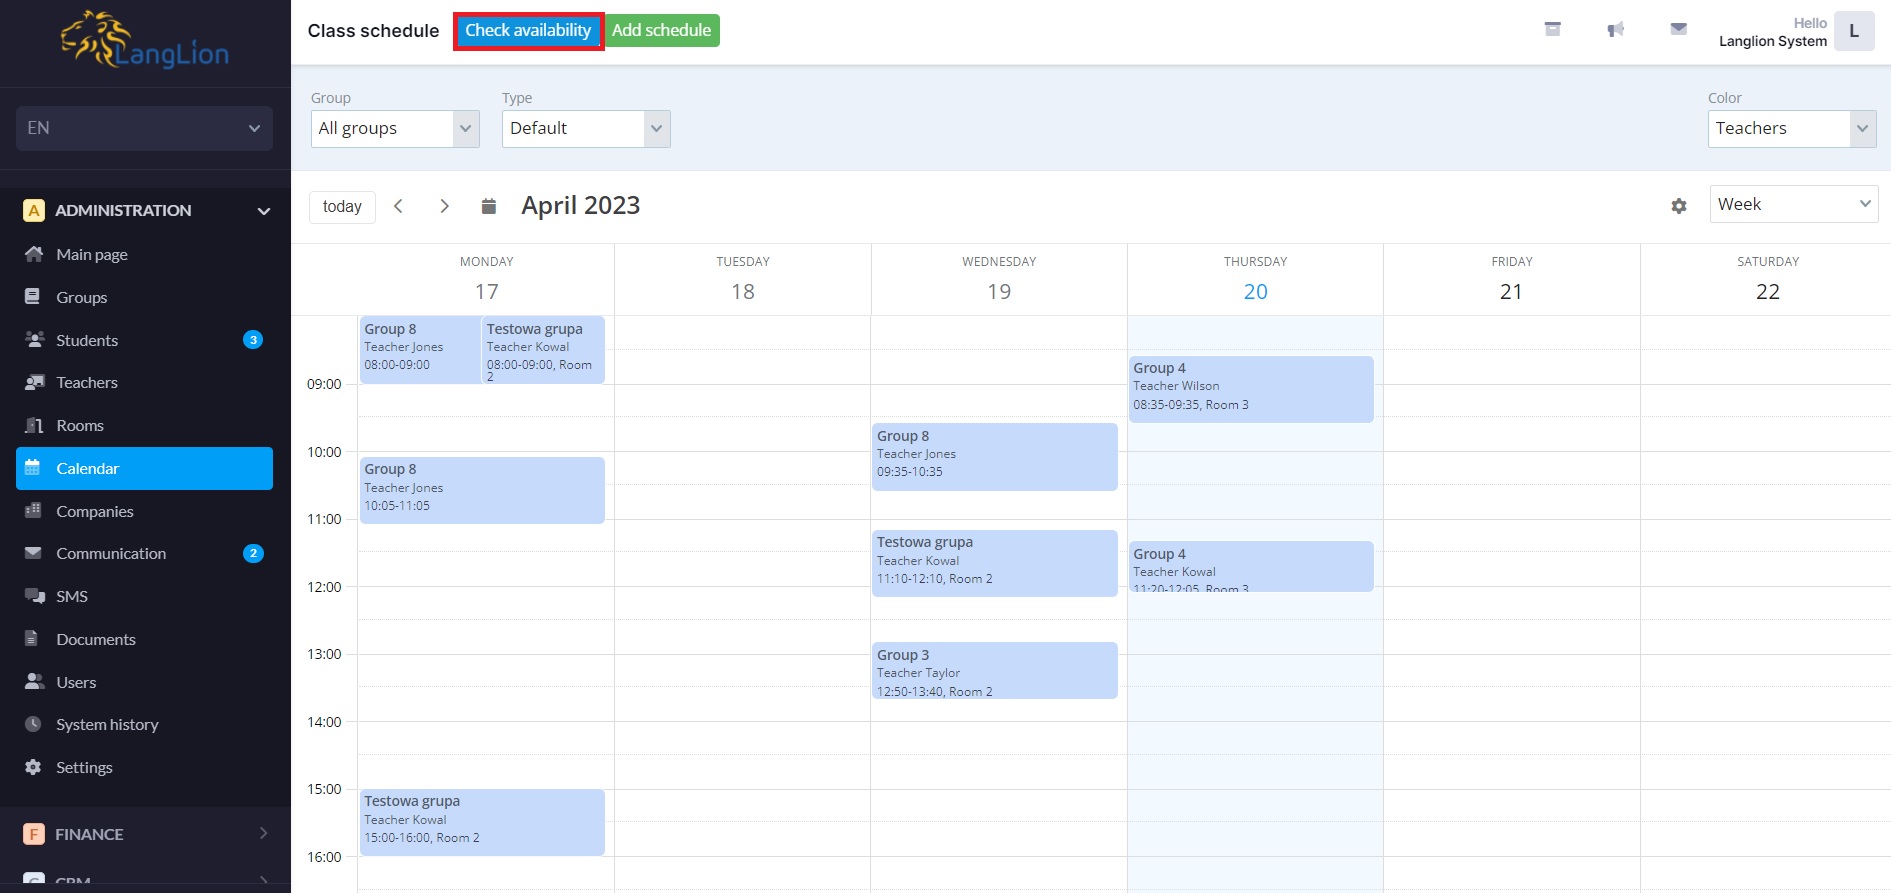
The Check availability button is used to search for available teachers and rooms.
Thanks to this option, you can easily search for available teachers and rooms according to the following criteria:
- the day on which the classes are held,
- hours,
- length of classes,
- breaks,
- language,
- qualifications,
- the teacher’s specialization.

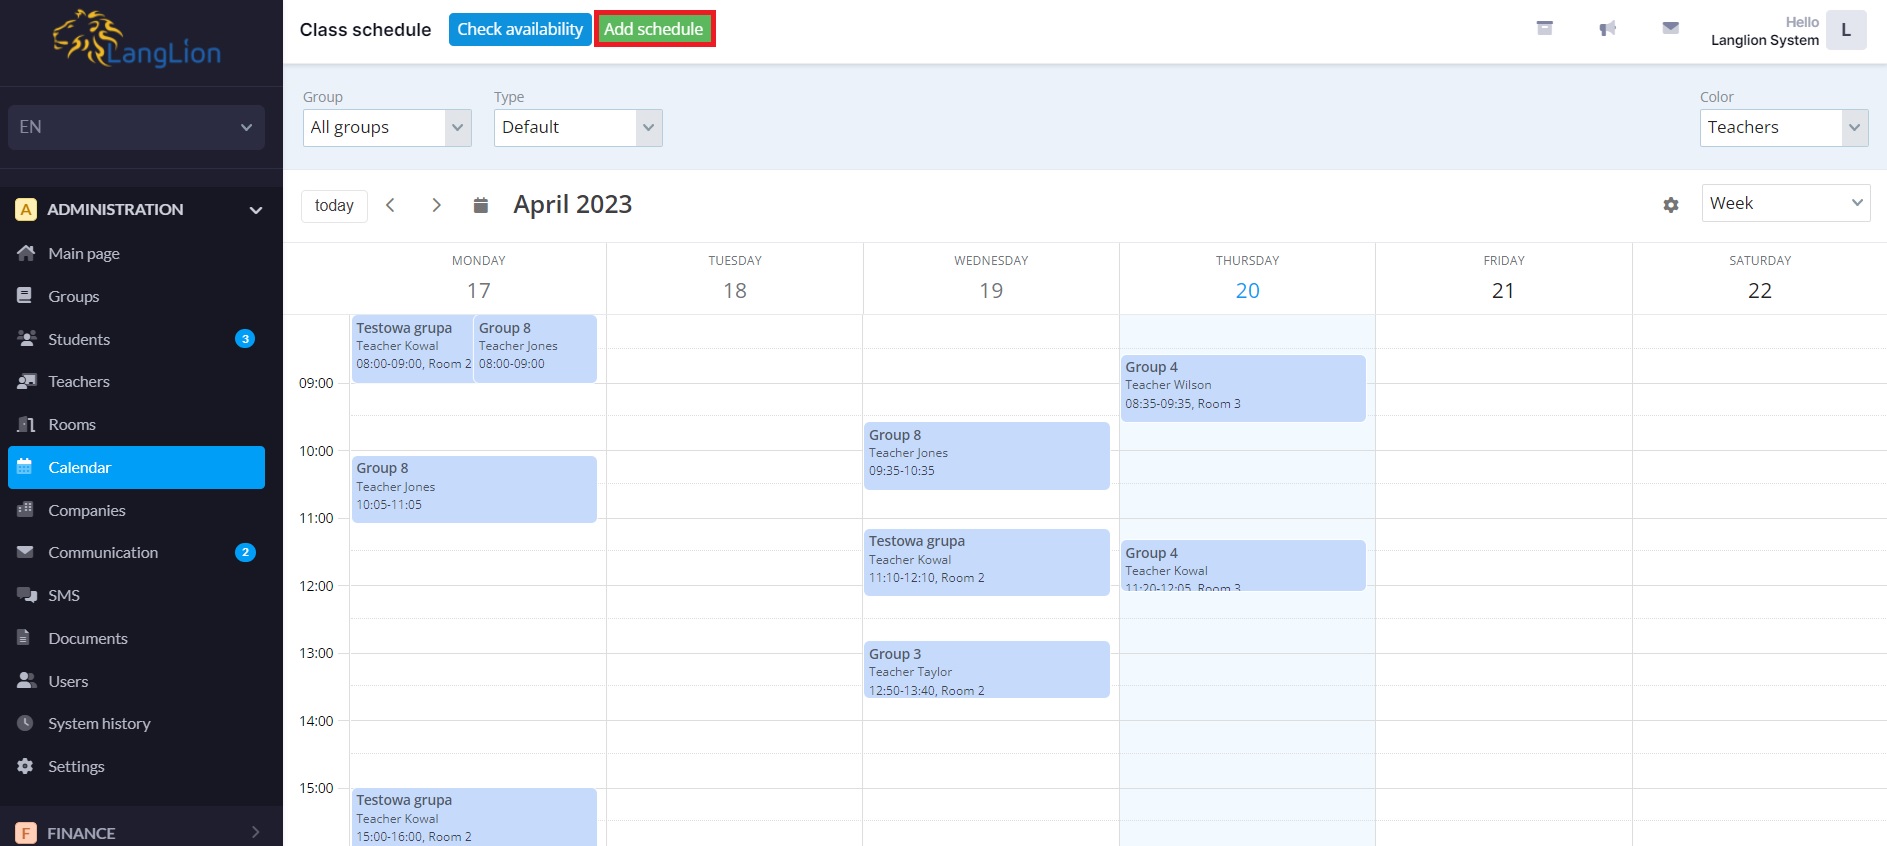
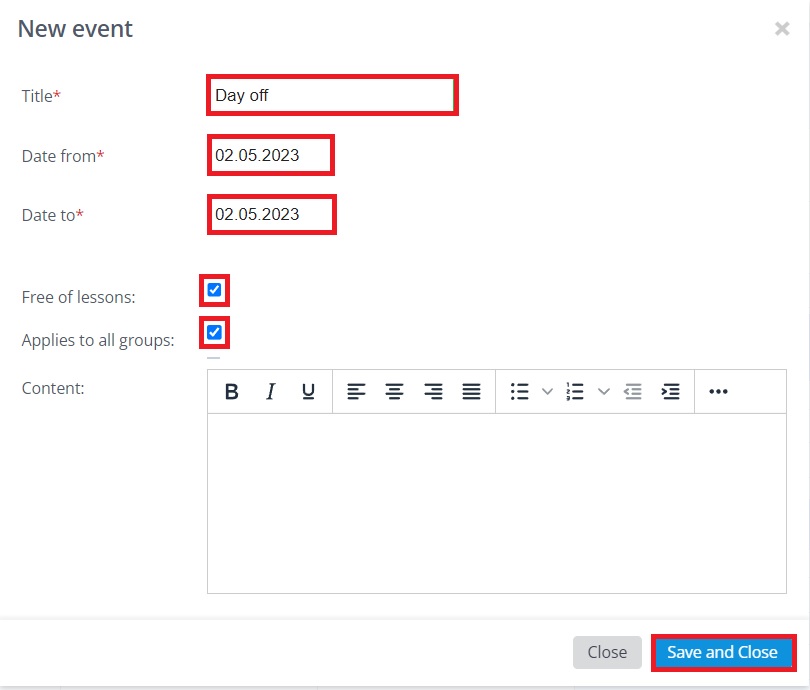
The Add schedule button is used to add holidays and statutory holidays. You can enter a single day and free time for several days.
- Enter the title of the event,
- Define its duration by entering dates in the Date From and Date To fields. If the event will last for one day, enter the same date value,
- Select the attribute „Free of lessons” if it is a day off. The generator in each group will shift the classes previously generated in the defined free time into a different date.
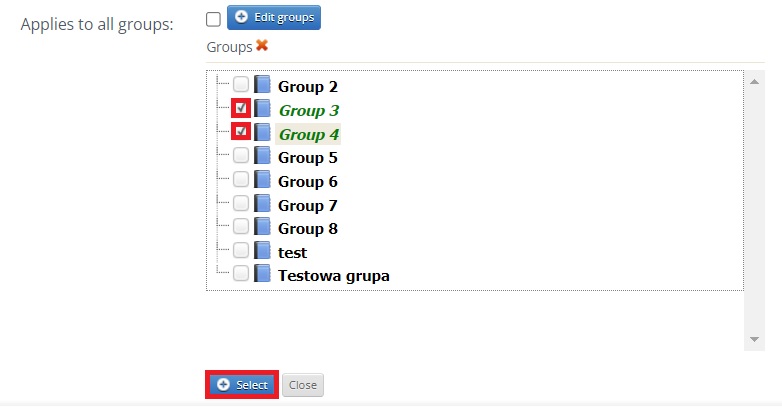
Each new event has the attribute „Applies to all groups” selected by default but you have the option of setting which groups should have free time.
How to define an event for selected groups only?
It’s easy, just uncheck the box Applies to all groups so the Edit groups option appears, allowing you to select the groups that you do not want to have classes at this time.
Once you finish editing the event, click on the Save and Close button.
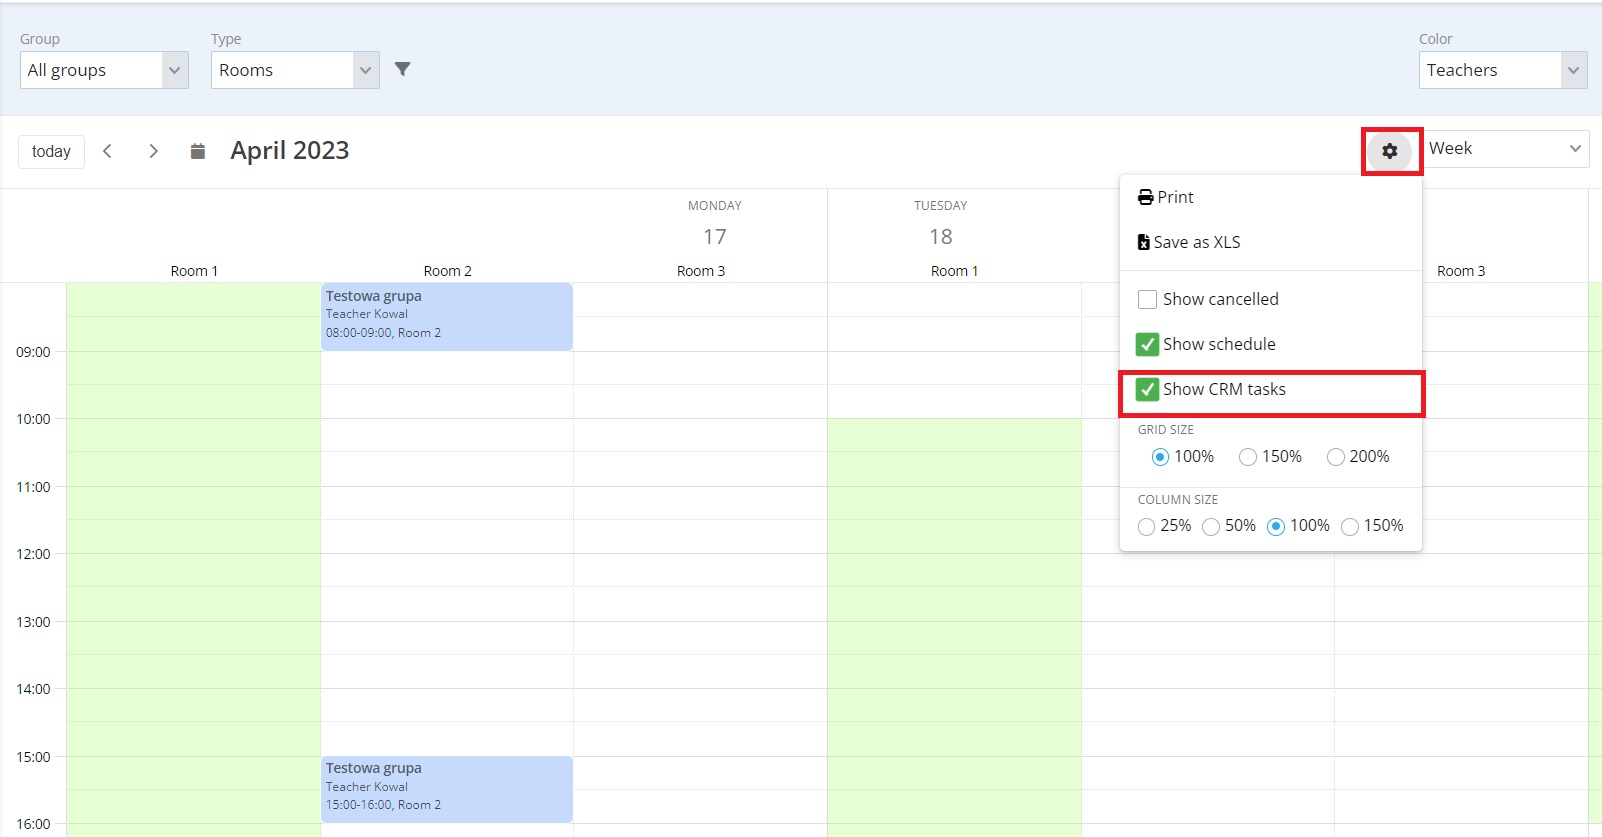
Displaying CRM tasks on the calendar
If you have the CRM module enabled, you can additionally display all the tasks you have planned on the main calendar. Thanks to this, you can see the entire plan of your school’s activities in one place.
To display CRM tasks on the calendar, just click on the settings icon and select the „Show CRM tasks” option.
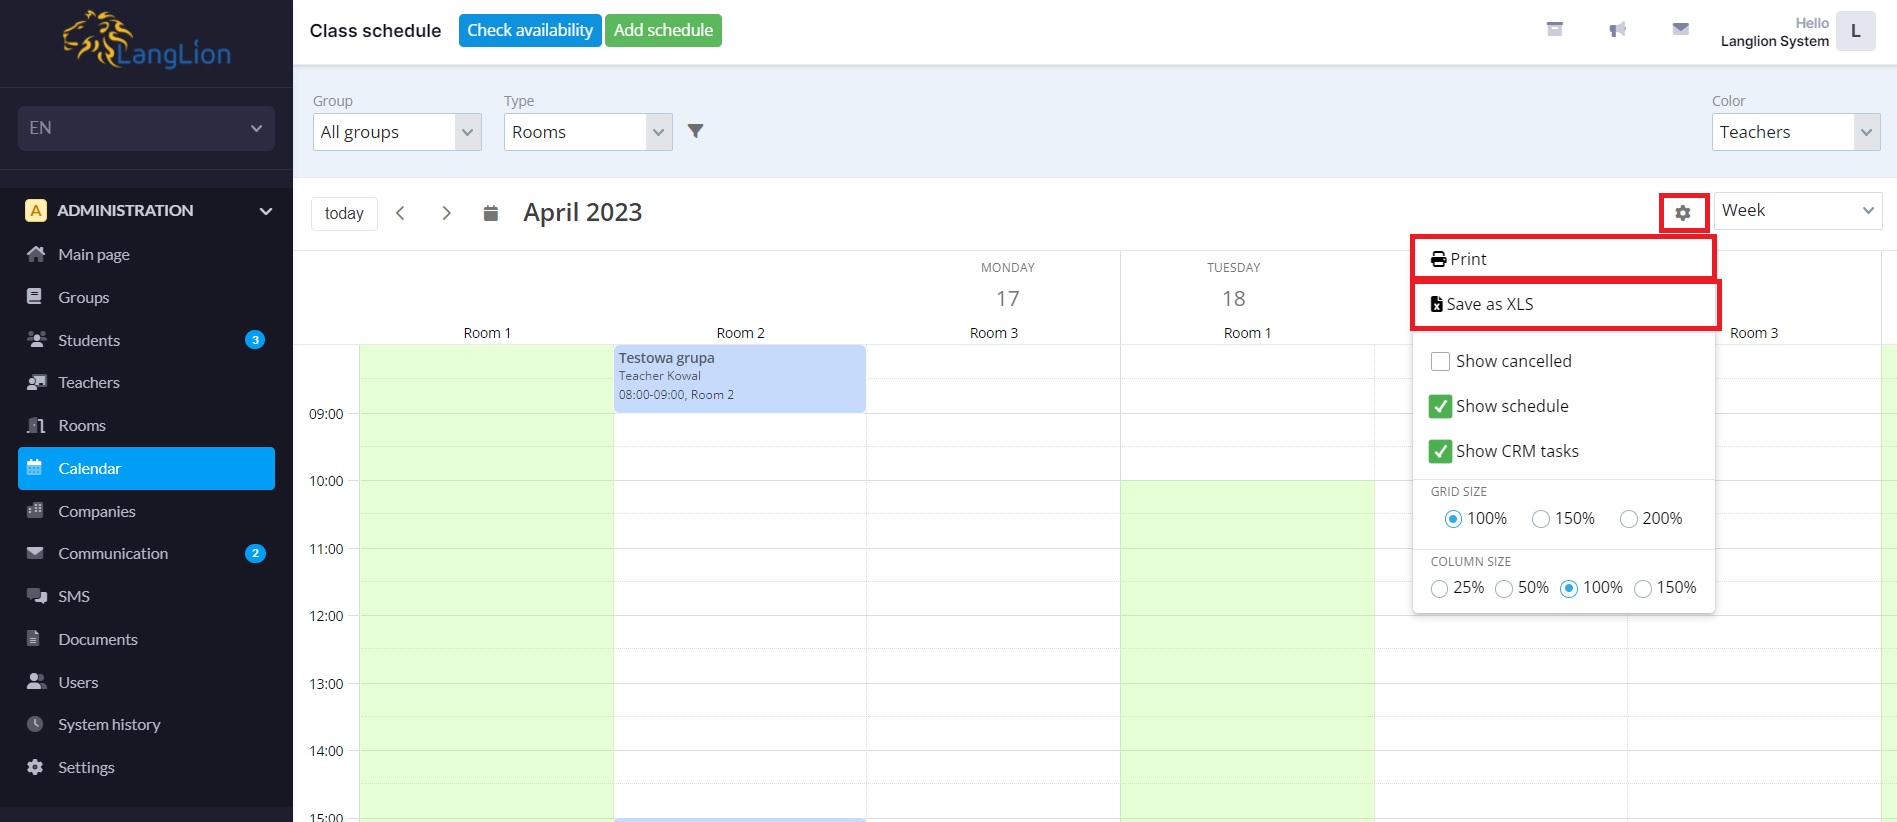
Printing the timetable
Do you want to view the timetable, print it, and hang it at the office? You can do it easily. Just click on the settings icon in the Calendar tab and select Print from the list.
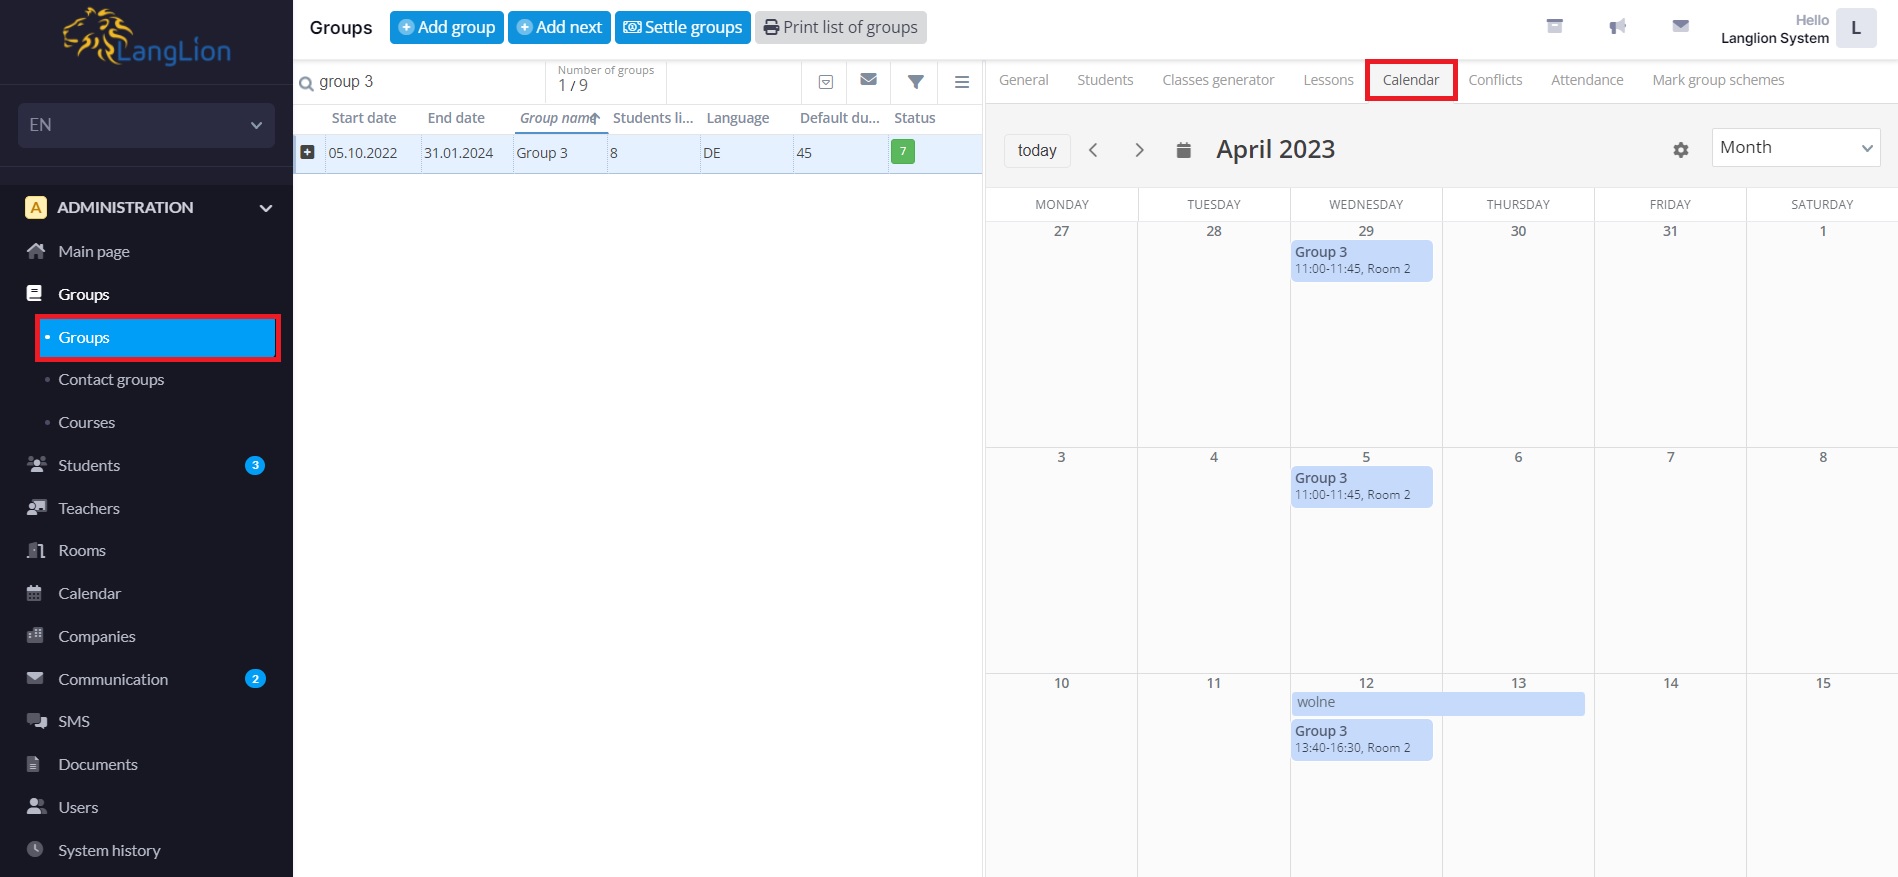
The new calendar is also available in the „Groups” -> „Calendar” tab. After selecting a specific group, you can display its activities on the calendar in the selected view (daily, weekly, monthly or in the form of a list). After clicking on the settings icon, you can also decide whether to display canceled classes and events, as well as print the calendar.
In the „Teachers” -> „Calendar” tab, a new calendar with a teacher’s schedule is also available. If the teacher has added periods of his unavailability („Teachers” -> „Unavailability” tab), they will also be included in the calendar.
You can also find the new calendar in the „Rooms” -> „Calendar” tab, where you can check the availability of rooms.
