Settlement of company
You currently have two company billing options:
- Hourly – takes into account the rate for classes and the number of classes in a given billing period
- For all classes – based on the fixed course price
While settling the company, you have the ability to choose the time period for which you want to settle and select the groups for which the company will be billed.
Important information – the latest version of the system provides the option of student co-payment for company classes.
How to settle the company in case of hourly settlement?
It’s really easy:
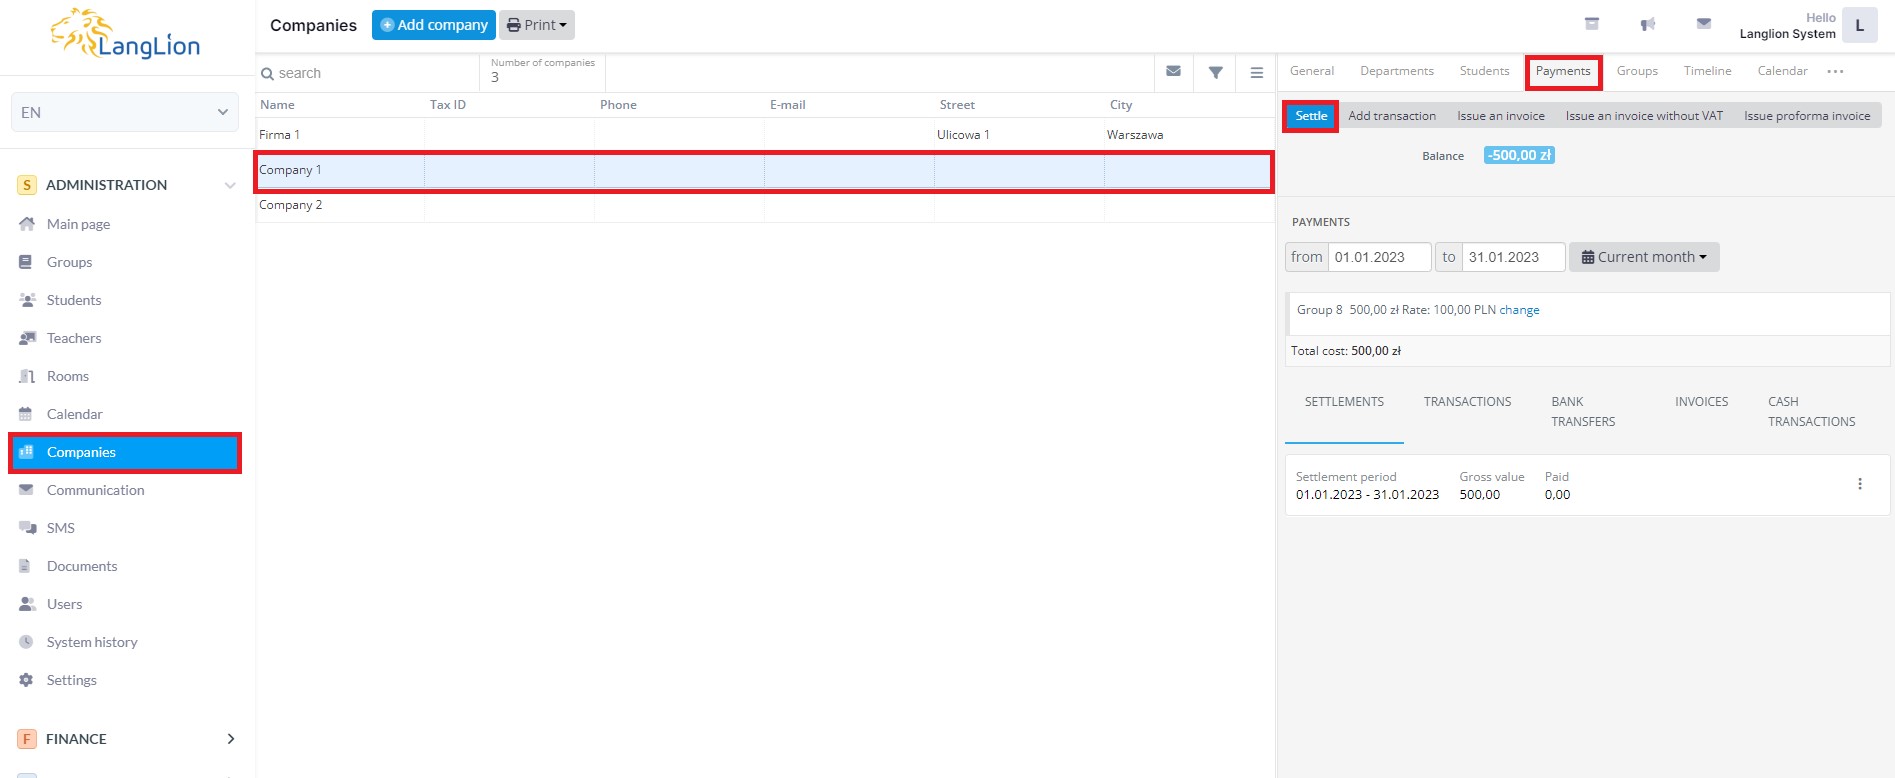
1. From the Administration module select the Companies tab and click on the relevant company.
2. Go to the Payments tab.
3. Click the Settle button.
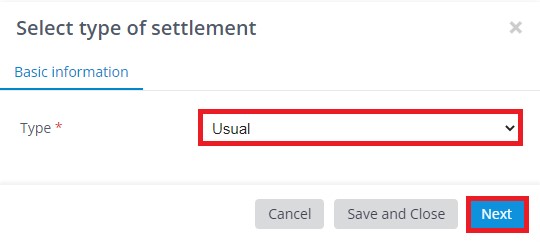
4. In the next step, select the type of settlement and click Next.
5. In the new settlement simulation window, set the period for which you want to settle the company. You can use calendars From and To to set any date or select a specific time period from the drop-down menu (previous month, current month, previous week, current week, or current year). Select the group for which you want to settle the company. In the Settlement description field, you can enter additional information.
Do you want to save group selections so that each group is marked identically in every following settlement? Click the Save template of group selection button.
You also have the opportunity to standardize the length of your classes in a company group for settlement. To do this, click on „Unify the duration of the course”.
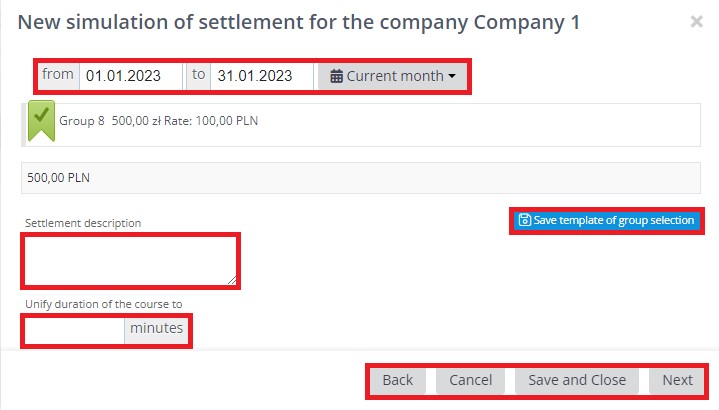
6. Click Next to proceed to the next settlement step. This is a summary of the settlement.
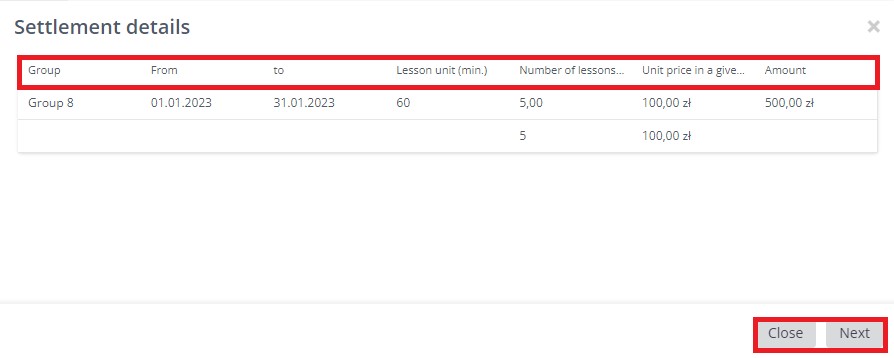
7. Click Next again to add the transaction. If you choose Close instead of Next, you can go straight to invoicing or add a transaction or invoice later.
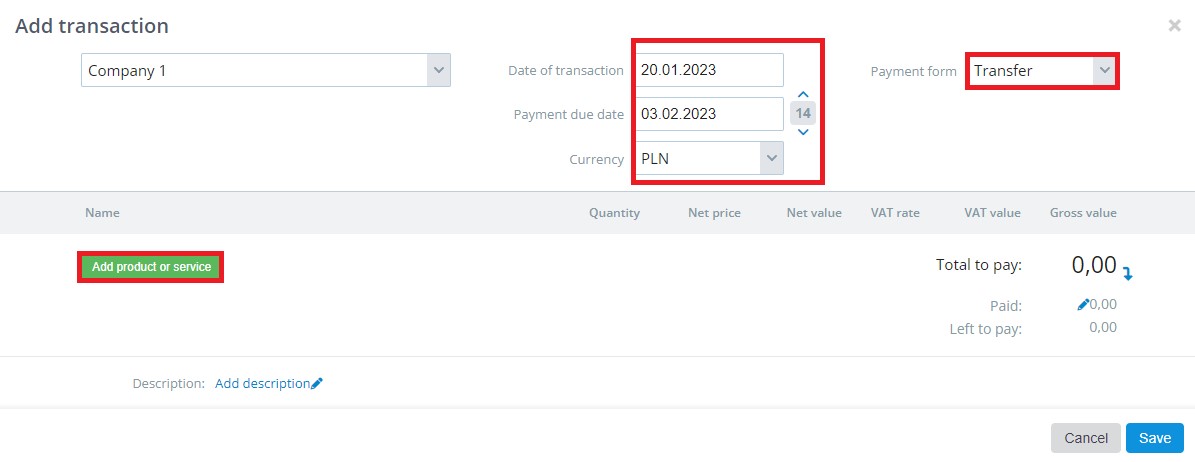
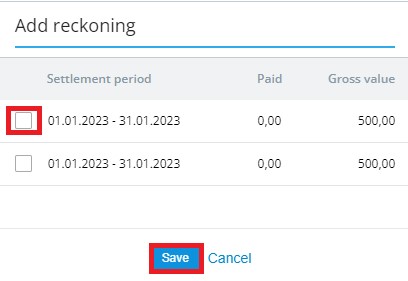
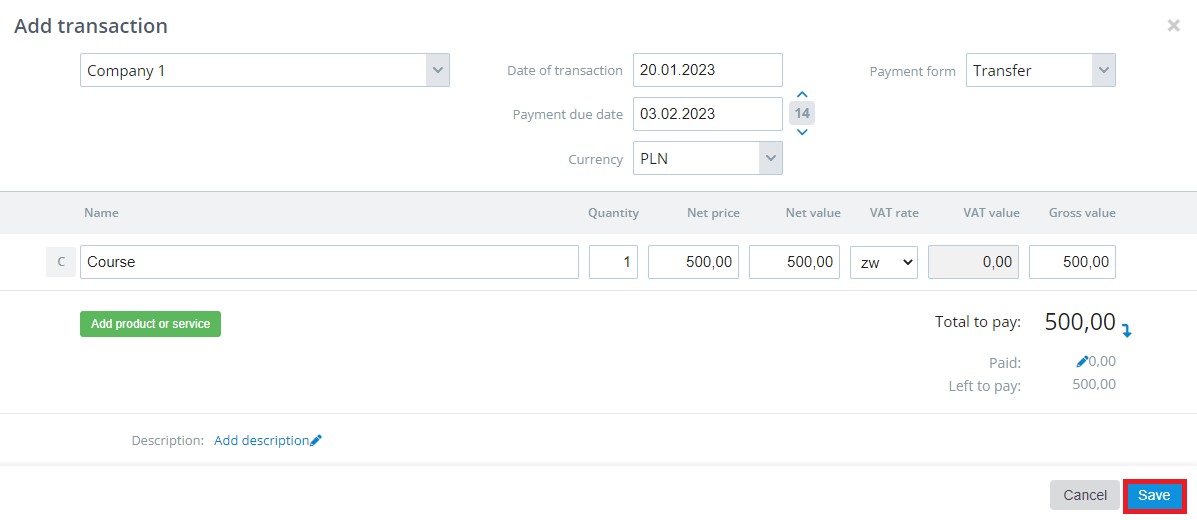
To add a transaction, set the appropriate dates and payment method and click Add product or service and then select the course product. A new window will appear with a list of settlements, select the one to be associated with the transaction. Save the transaction.
How do I settle company in case of payment for all classes?
The method is as simple as for hourly billing. Click on the Settle button and in the window that appears, select the period for which you are settling the company, enter the price of the course, and save the data.
The next step will be to add the transaction exactly as you would for an hourly settlement.
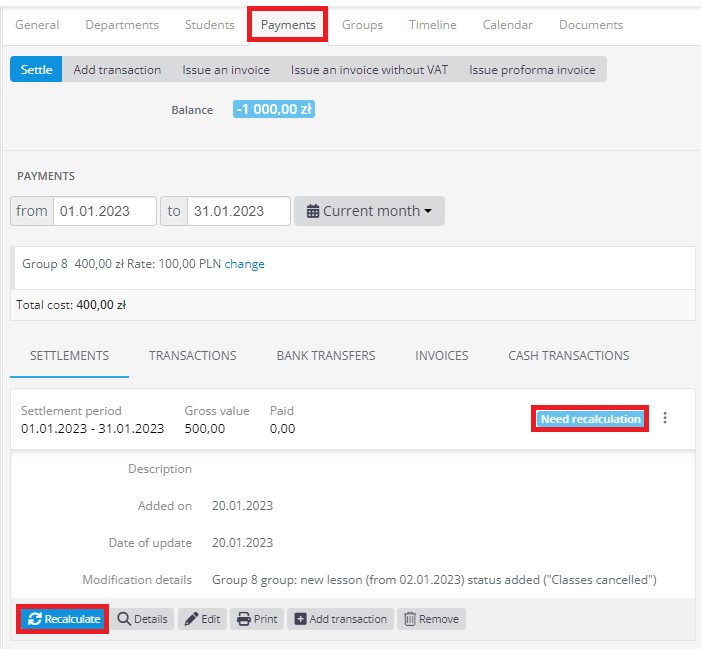
In the latest version of the system, in the Payments tab new icons and the status of the balance appeared. Thanks to this, from this tab you can efficiently and quickly handle the settlements.
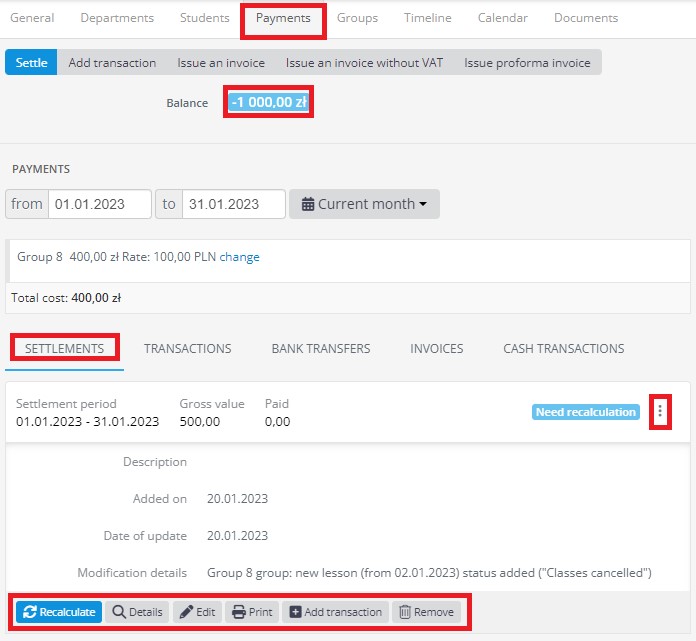
What do these icons mean?
- Magnifier – this is a preview of the settlement details
- Pencil – allows you to edit the settlement (date range, amount, and description)
- Printer – allows you to print out the settlement details (which is also an attachment to an invoice)
- Arrows – update settlement for changes to the class schedule – what’s important is that if there were changes to the classes, the icon will light up in blue and a message that the billing should be updated will appear next to it
- Plus – allows you to add a transaction (if you did not add one when creating a settlement)
- Bin – removes settlement
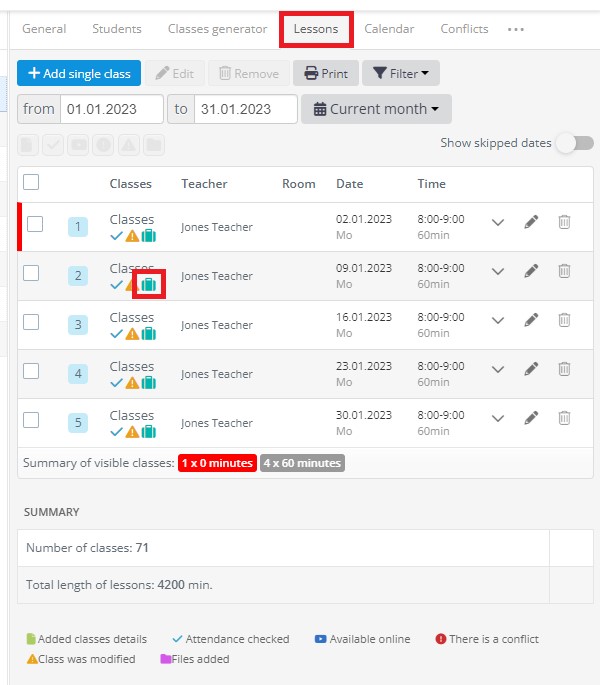
Also a new icon appeared on the list of classes in the group. It is highlighted after the settlement of the class and means that they are paid for by the company
Once the settlement is complete, you can issue an invoice – go to the guide and see how to do it in a few steps. The manager of the company, after logging into the company account, will have the ability to view the settlement. All he has to do is log in to his account and click on the Settlements tab.